
Stick Weaving
I love this skill so much! It feels like weaving from the very beginning and a skill children and adults can progress really easily. It’s not too fiddly and doesn’t require a needle. You can pick up a kit quite easily from most craft stores but I love that this is something a child can make from scratch (with a little help). See how you get on.
Materials Needed:
Two equal sized, thin, straight sticks
A veg peeler
A power drill/hand drill to make two small holes
Cotton/string
Yarn (chunky is best)

Find yourself two straight, thin-ish sticks.
You’ll need to peel them next to remove all the bark and nobbly bits.
**Safety note
Have a grown up close by when peeling the sticks.
Always peel away from your body and hands.

When you’re peeling your stick, be sure the end is slightly tapered (getting thinner.) So your yarn easily slides off the sticks onto the warp.
You’ll then need to drill two small holes through each of your sticks. About 1.5cm from the end.
Using a piece of string/cotton, thread through a loop on each end. This loop holds onto your warp strings you’ll be adding next.
Teaching Point
Warp is the up and down strands in a weave. These are typically held stationary.
Weft is the left to right strands, your “working weave”

Next tie a long string/yarn to each of the loops. This needs to be as long as you want your finished piece to be. I like to make one continuous piece tied at each end.
You’re now ready to start weaving!

Begin by tying on your weft piece (your working piece) on to one of the sticks.

Your weaving rhythm is pretty straight forward now, you just need to remember the number 8!
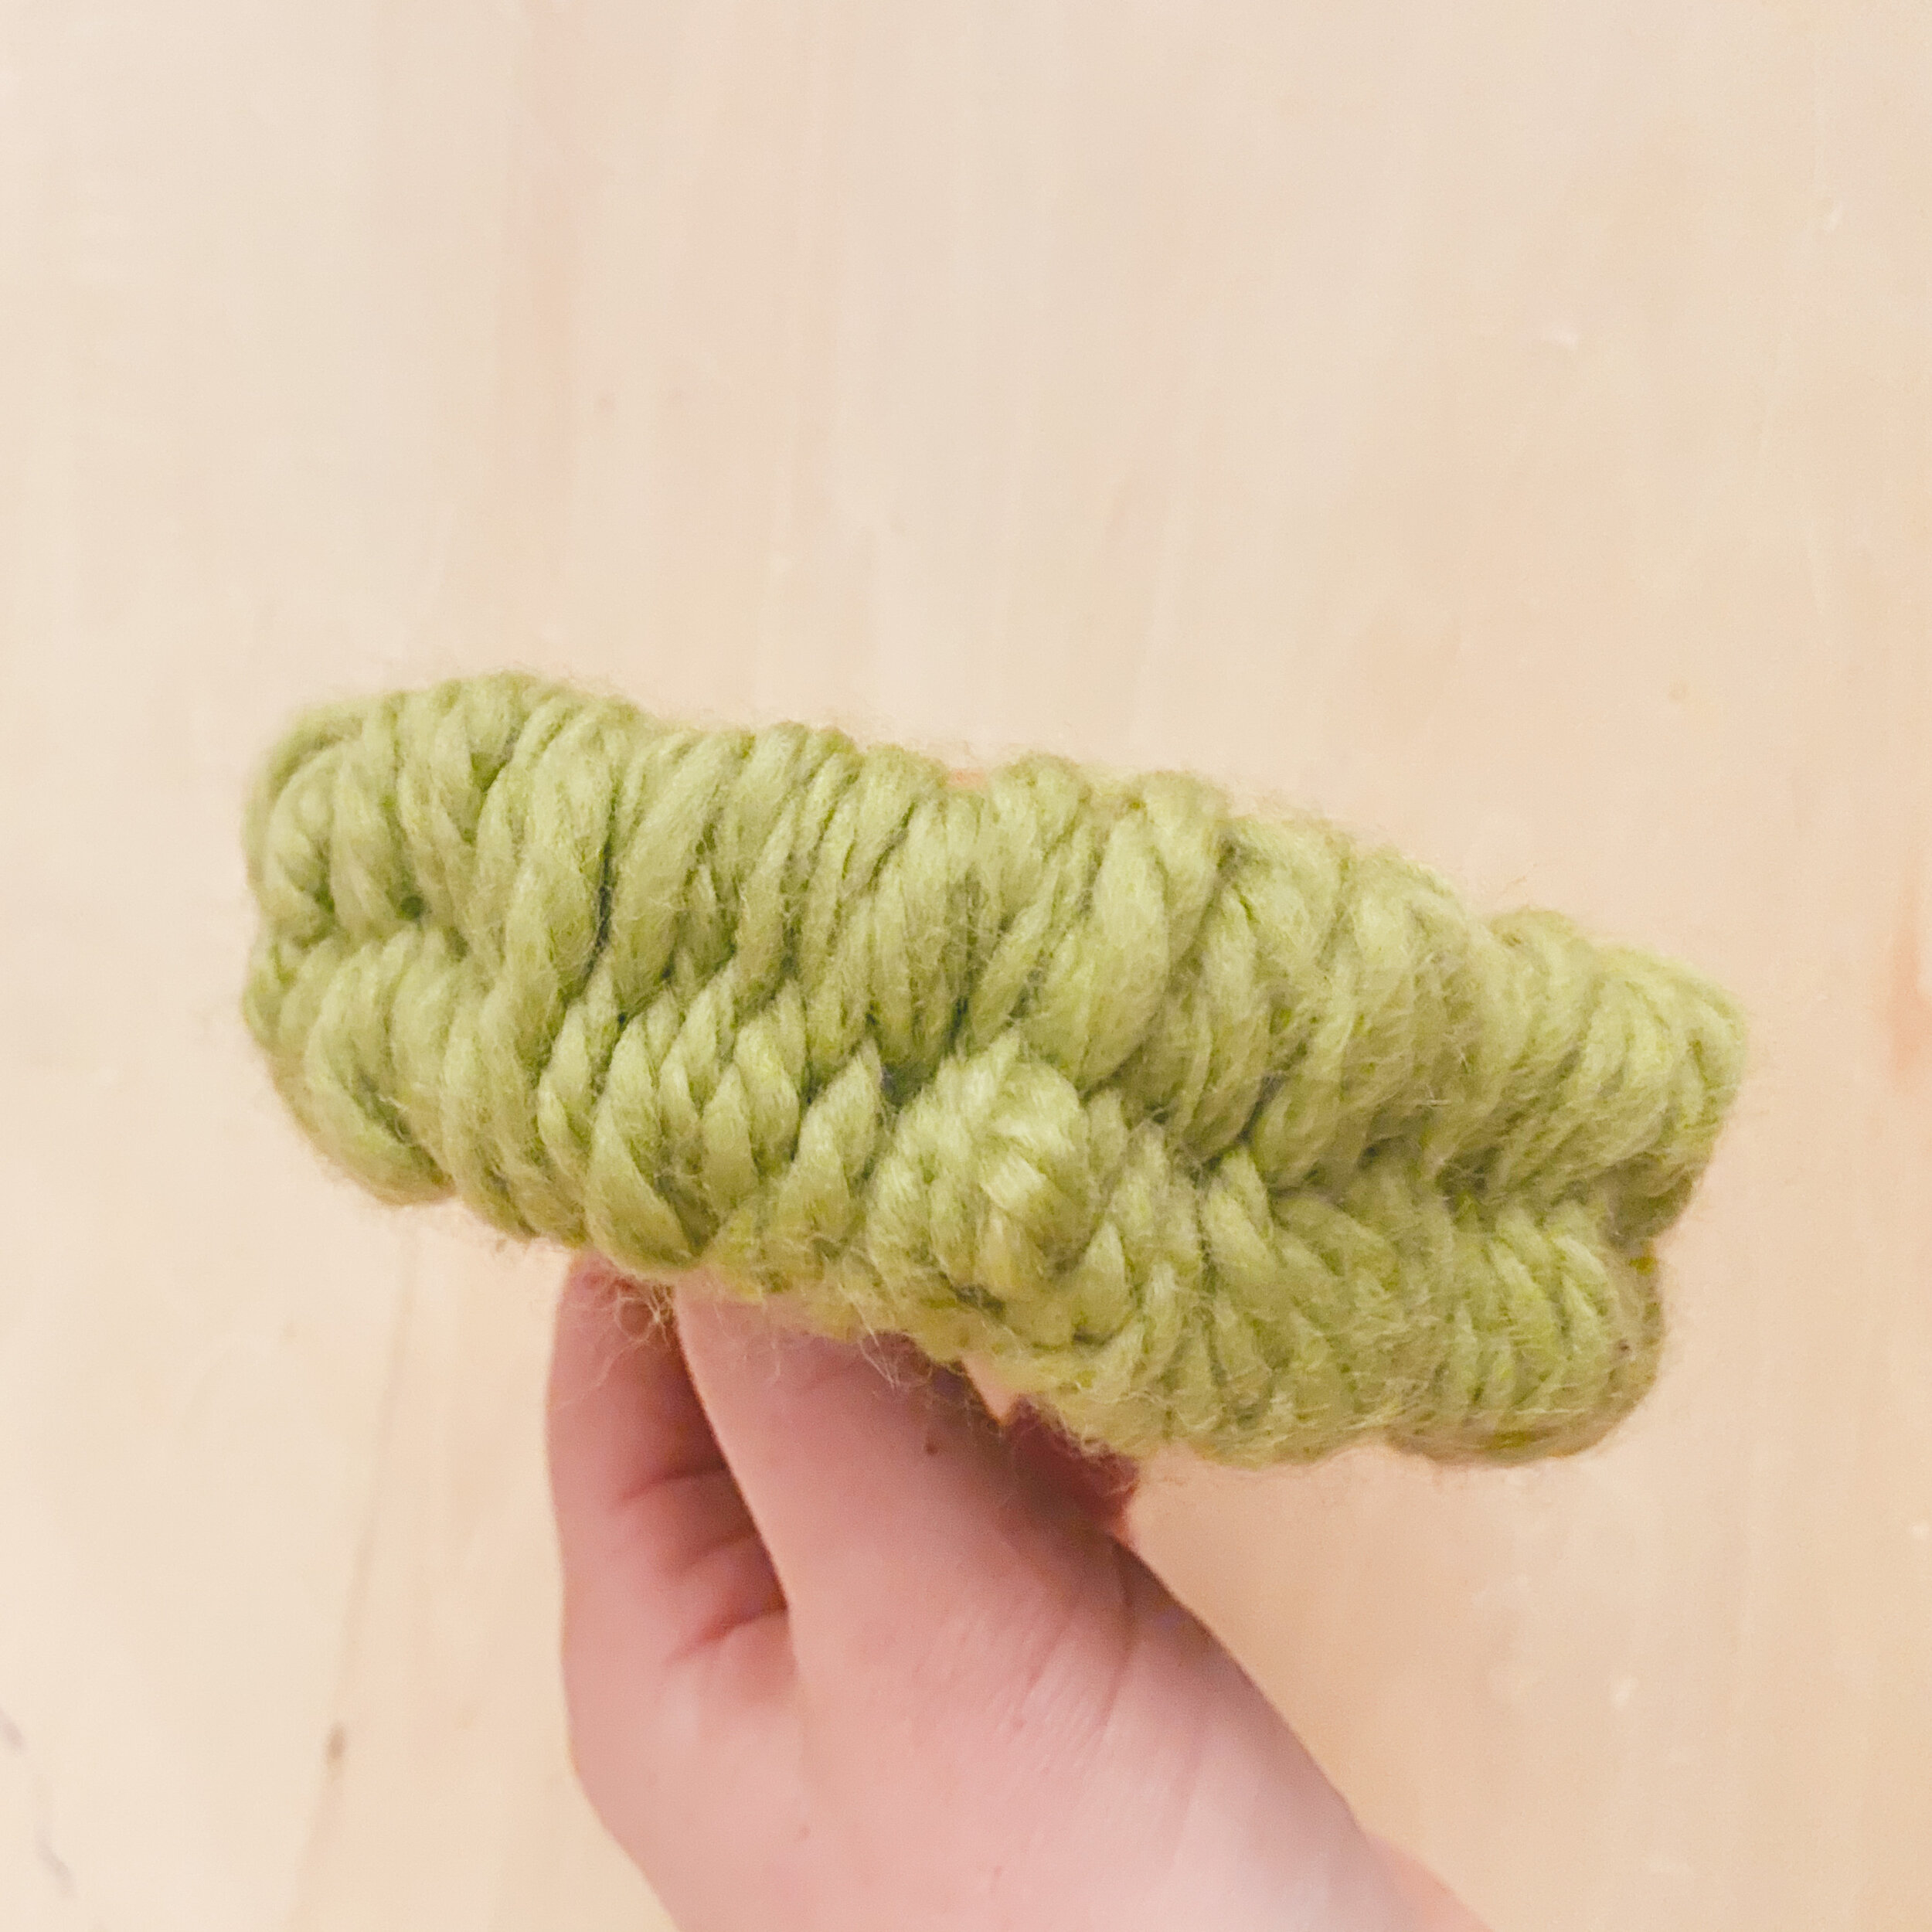
Weaving the yarn behind, in front, behind, in front in a number 8 shape. You’ll find the sticks “fill” quite quickly.

… and just keep going!
You don’t need to wrap the sticks too tightly as you’ll struggle to do the next part. Finding your tension will be a work in progress you’ll figure out as you.

When the sticks fill up, you’ll need to start gently teasing the woven yarn onto the warp (hanging strings you attached to the loops).

Gently moving the weft (your working yarn) off the end of the sticks onto the warp with care. It’s fairly fail proof, just go slow so it doesn’t tangle.
Continue weaving the figure 8 at the top and pushing your weft down onto the warp.
Once you get to the bottom of the warp, you’ll begin filling it up until it reaches the sticks.
At this point, you can chop your weft string and tie it to the warp on both sides.
Then cut or untie your warp from the loops.
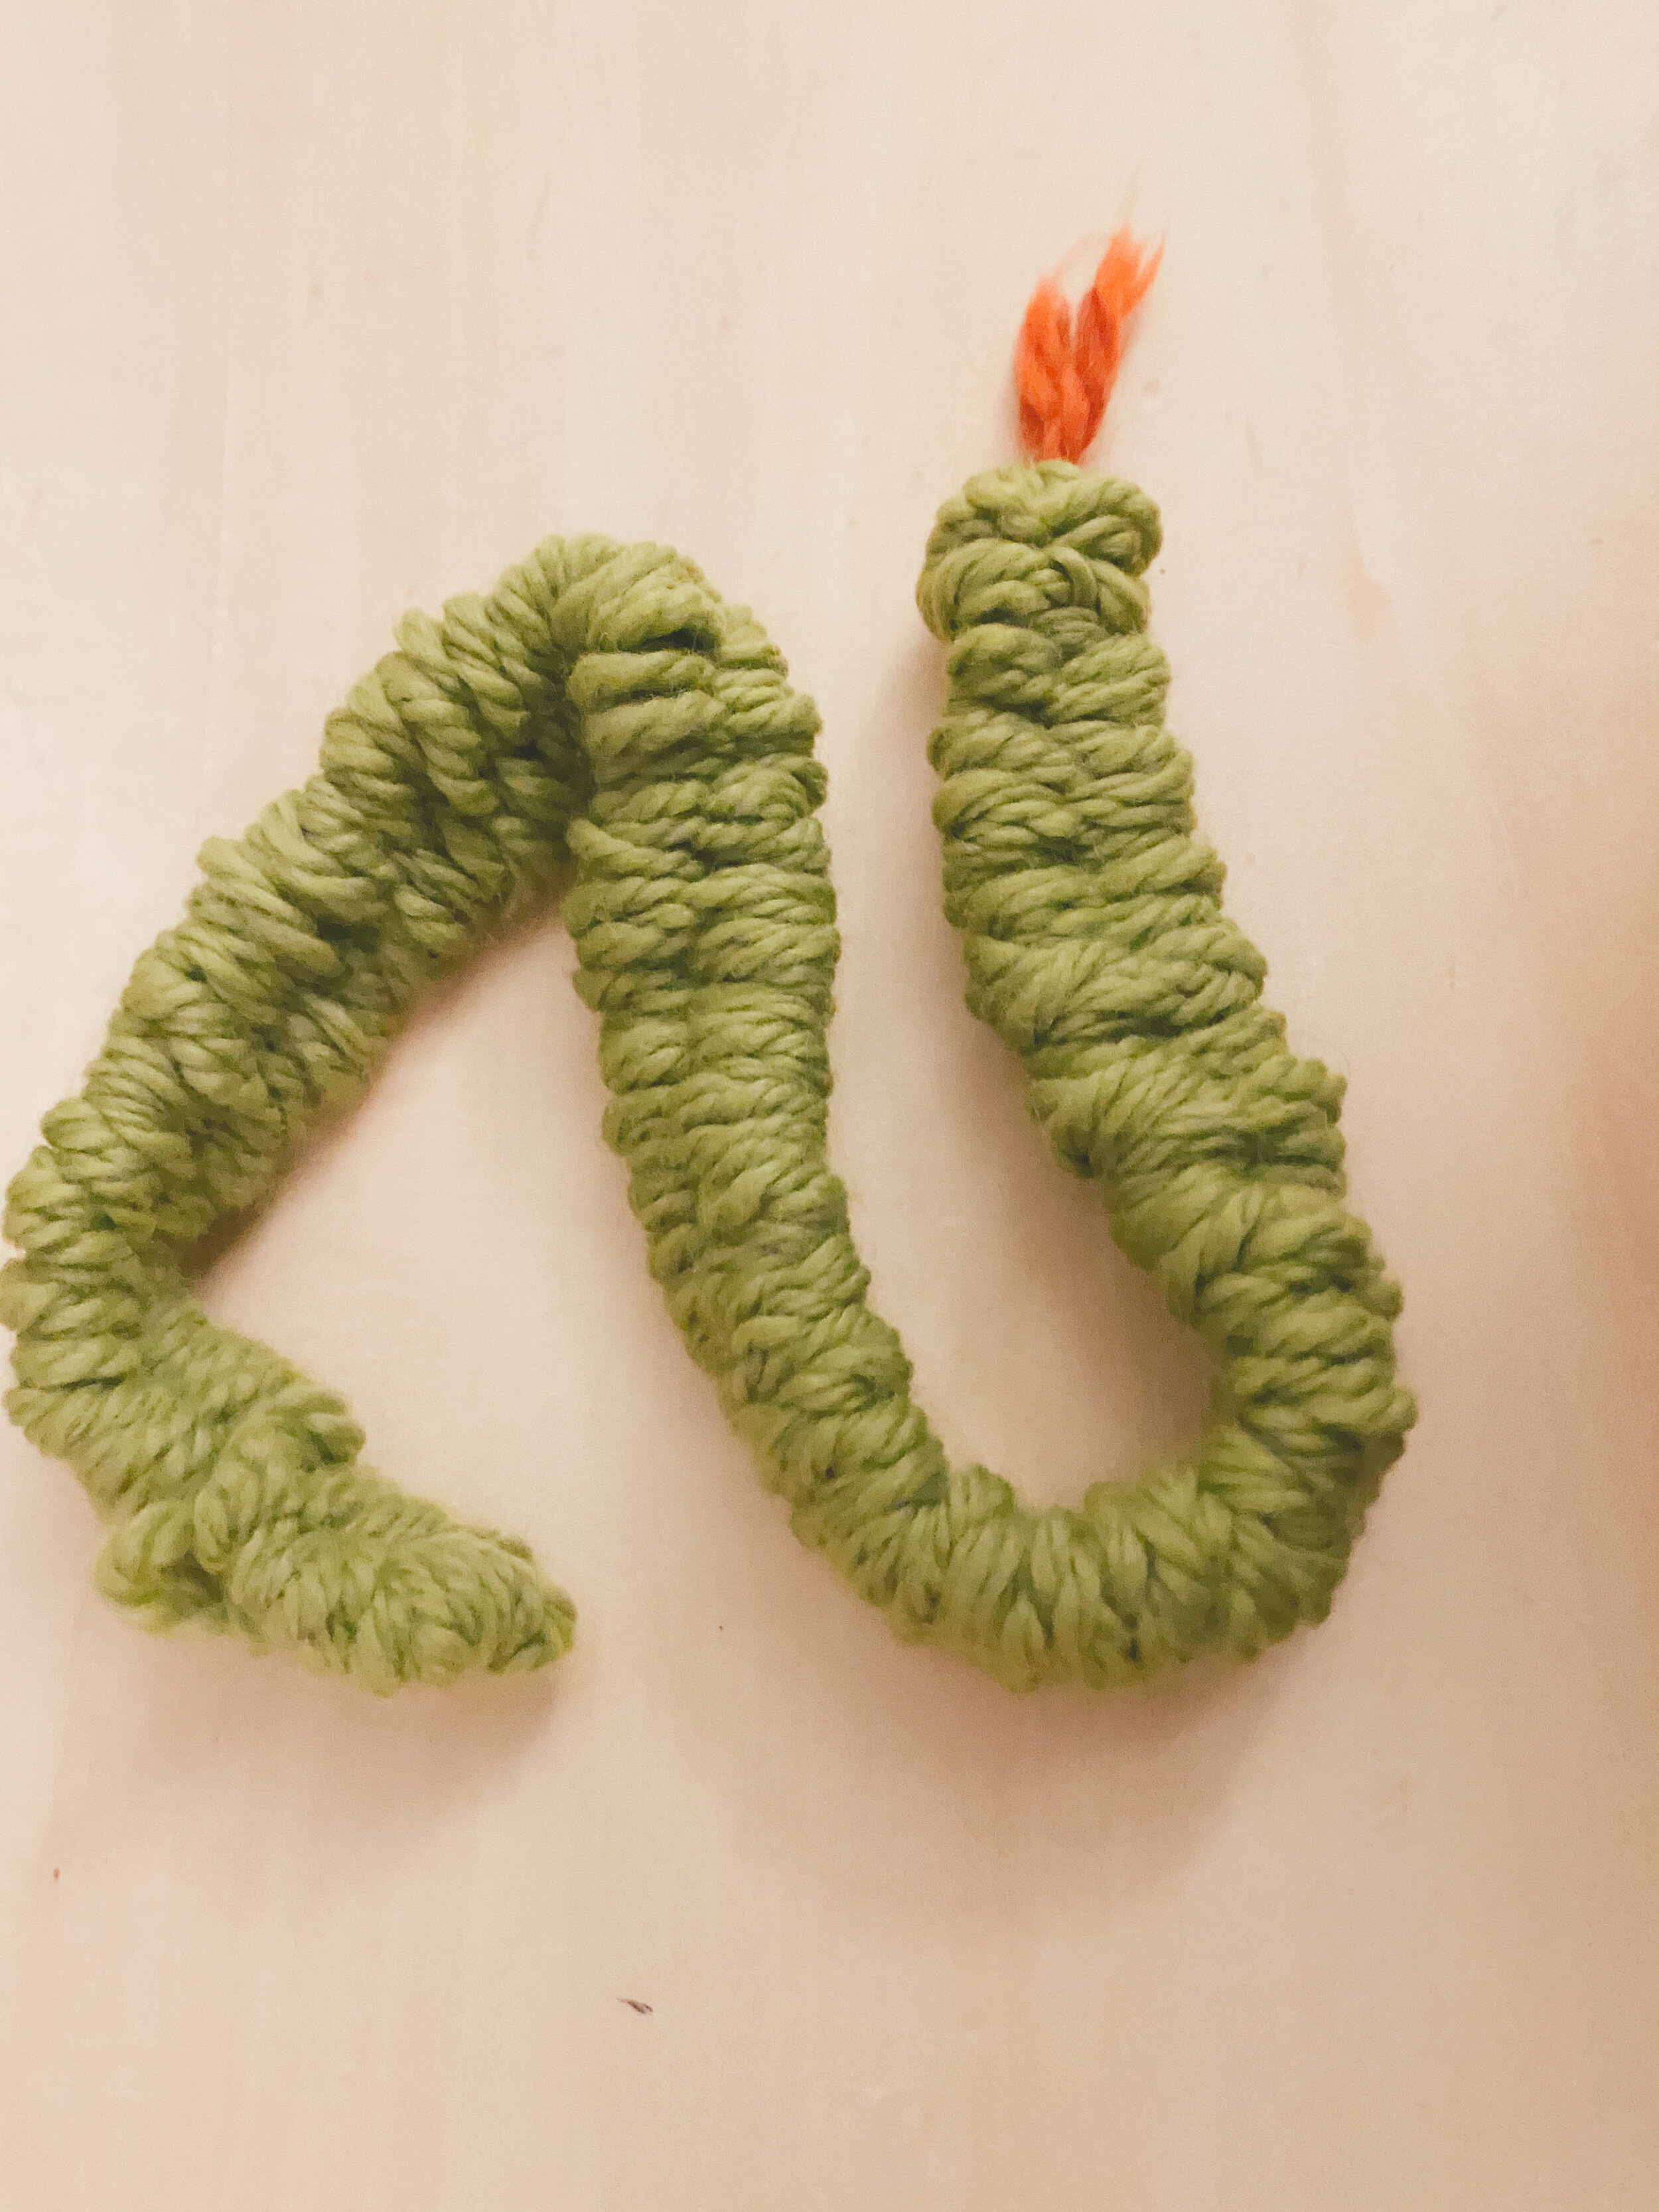
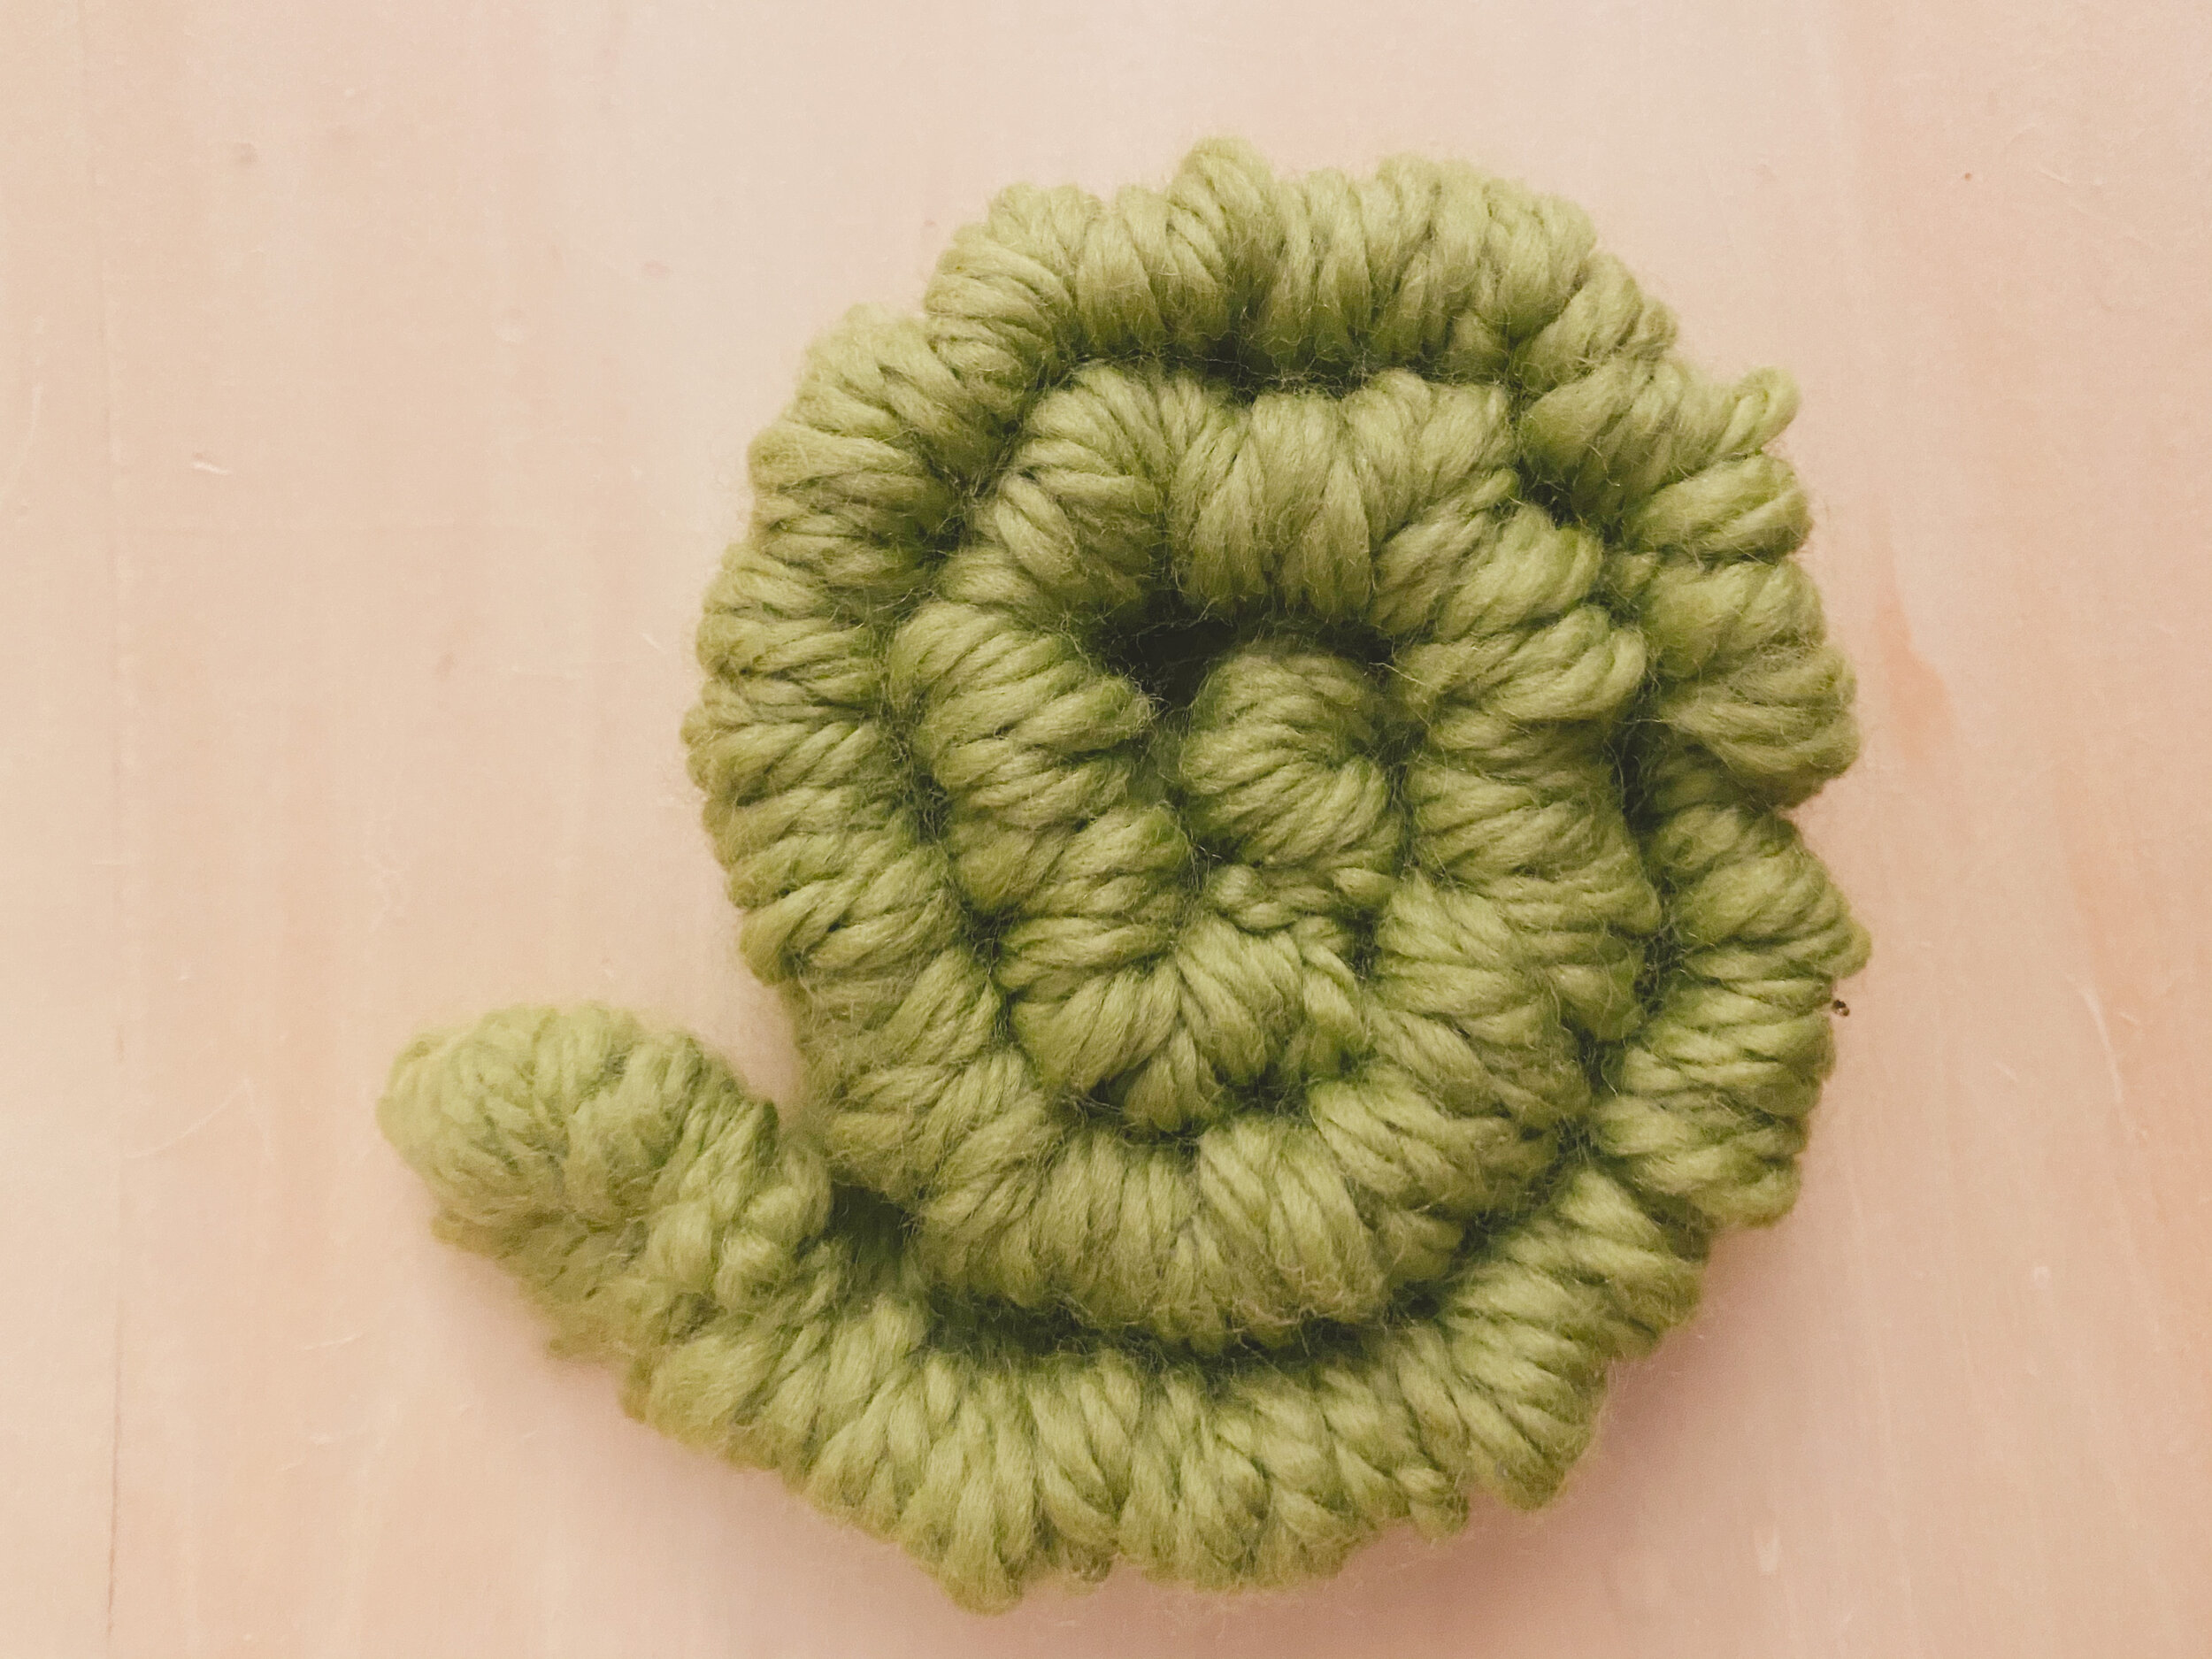
And ta-da! Here is the finished weaving (finished at home, out of the rain!)
Let me know how you get on, which bit you found easy and what you’ve done with your weaving afterwards. Take a peek at YouTube or Pinterest for more ideas of what to do with it afterwards. We’ve made a set of placemats, a rug and this find snake for B (which he uses more as a helicopter propeller!)