Sewn Gnomes
“Donsy”
- a collective term for a group of gnomes
I promise this will be the last of the gnome crafts… for a little while at least. For simple sewing projects these are so lovely, they also make wonderful gifts too. We recently made some sown gnomes in the home-ed Learning Community; the youngest child was 5 and the oldest was 10, they needed a little help with the threading/tying of knots but the beauty of them was that those who began the projects came away with their very own gnomes. They were all beautifully individual just like the child who made them.
I’d love to see your gnome-y pals when they’re made. I recommend the books below to go with the experience…
A Donsy of Gnomes by Sieglinde De Francesca
Gnomes by Wil Huygen
Tomten Tales by Astrid Lindgren
To make your gnomes
Felt in an array of beautiful colours
Pencil
Sewing needle
Sharp scissors
Embroidery thread
A wooden peg doll/piece of wood
or wool roving if you’re planning on making a soft gnome
The PDF cloak template below
How To Make:
Print your template or sketch the pattern onto a piece of paper
Cut out your template and hold it up to your wooden peg doll to see whether it fits ok. If it does, head to step 3. If it doesn’t, make any adustments you might need to; making the template bigger/smaller/slightly different shape as needed.
Place your template on top of your chosen felt colour and draw around it, then cut out with sharp scissors
For the full cloak
Double check to see if the felt will wrap around your wooden peg doll, if not, make adjustments again until you’re happy.
If you’re a keen sewer, you can at this point add any embroidery designs to your felt; stars, flowers, lightening bolts, initials. Do it now before sewing up the cloak.
Once you’re happy with the design, using either the blanket stitch (for more competent sewers) or a simple whip stitch (for beginners) sew up the hat and cloak front leaving a space for the wooden peg doll inside.
If you’re using wool roving, once the cloak and hood are sewn together, stuff the wool into the felt. Be sure to keep the face area nice and smooth, stuffing behind it for more structure.
Cut a little circle piece to sew to the bottom to stop the wool roving from falling out.
Lastly, using a running stitch, sew a line around the neck section of the felt and gently pull to create more shape, you then have a little drawstring for the cloak. You can add little beads to the end of this.
For the separate cloak and hat - only suitable for wooden peg dollsThis is the more simple option for beginners or a quick craft.
As above, cut out the templates and make sure they fit your peg dolls. Once you’re happy with the shapes, trace around them onto the felt and cut out.
Starting with the hat, take the two edges and sew together using either a blanket stitch or a whip stitch.
For the cloak, position and mark a little line where you want the cloak neck to sit. This cloak will have a little upright collar (think Dr Strange type cloak)
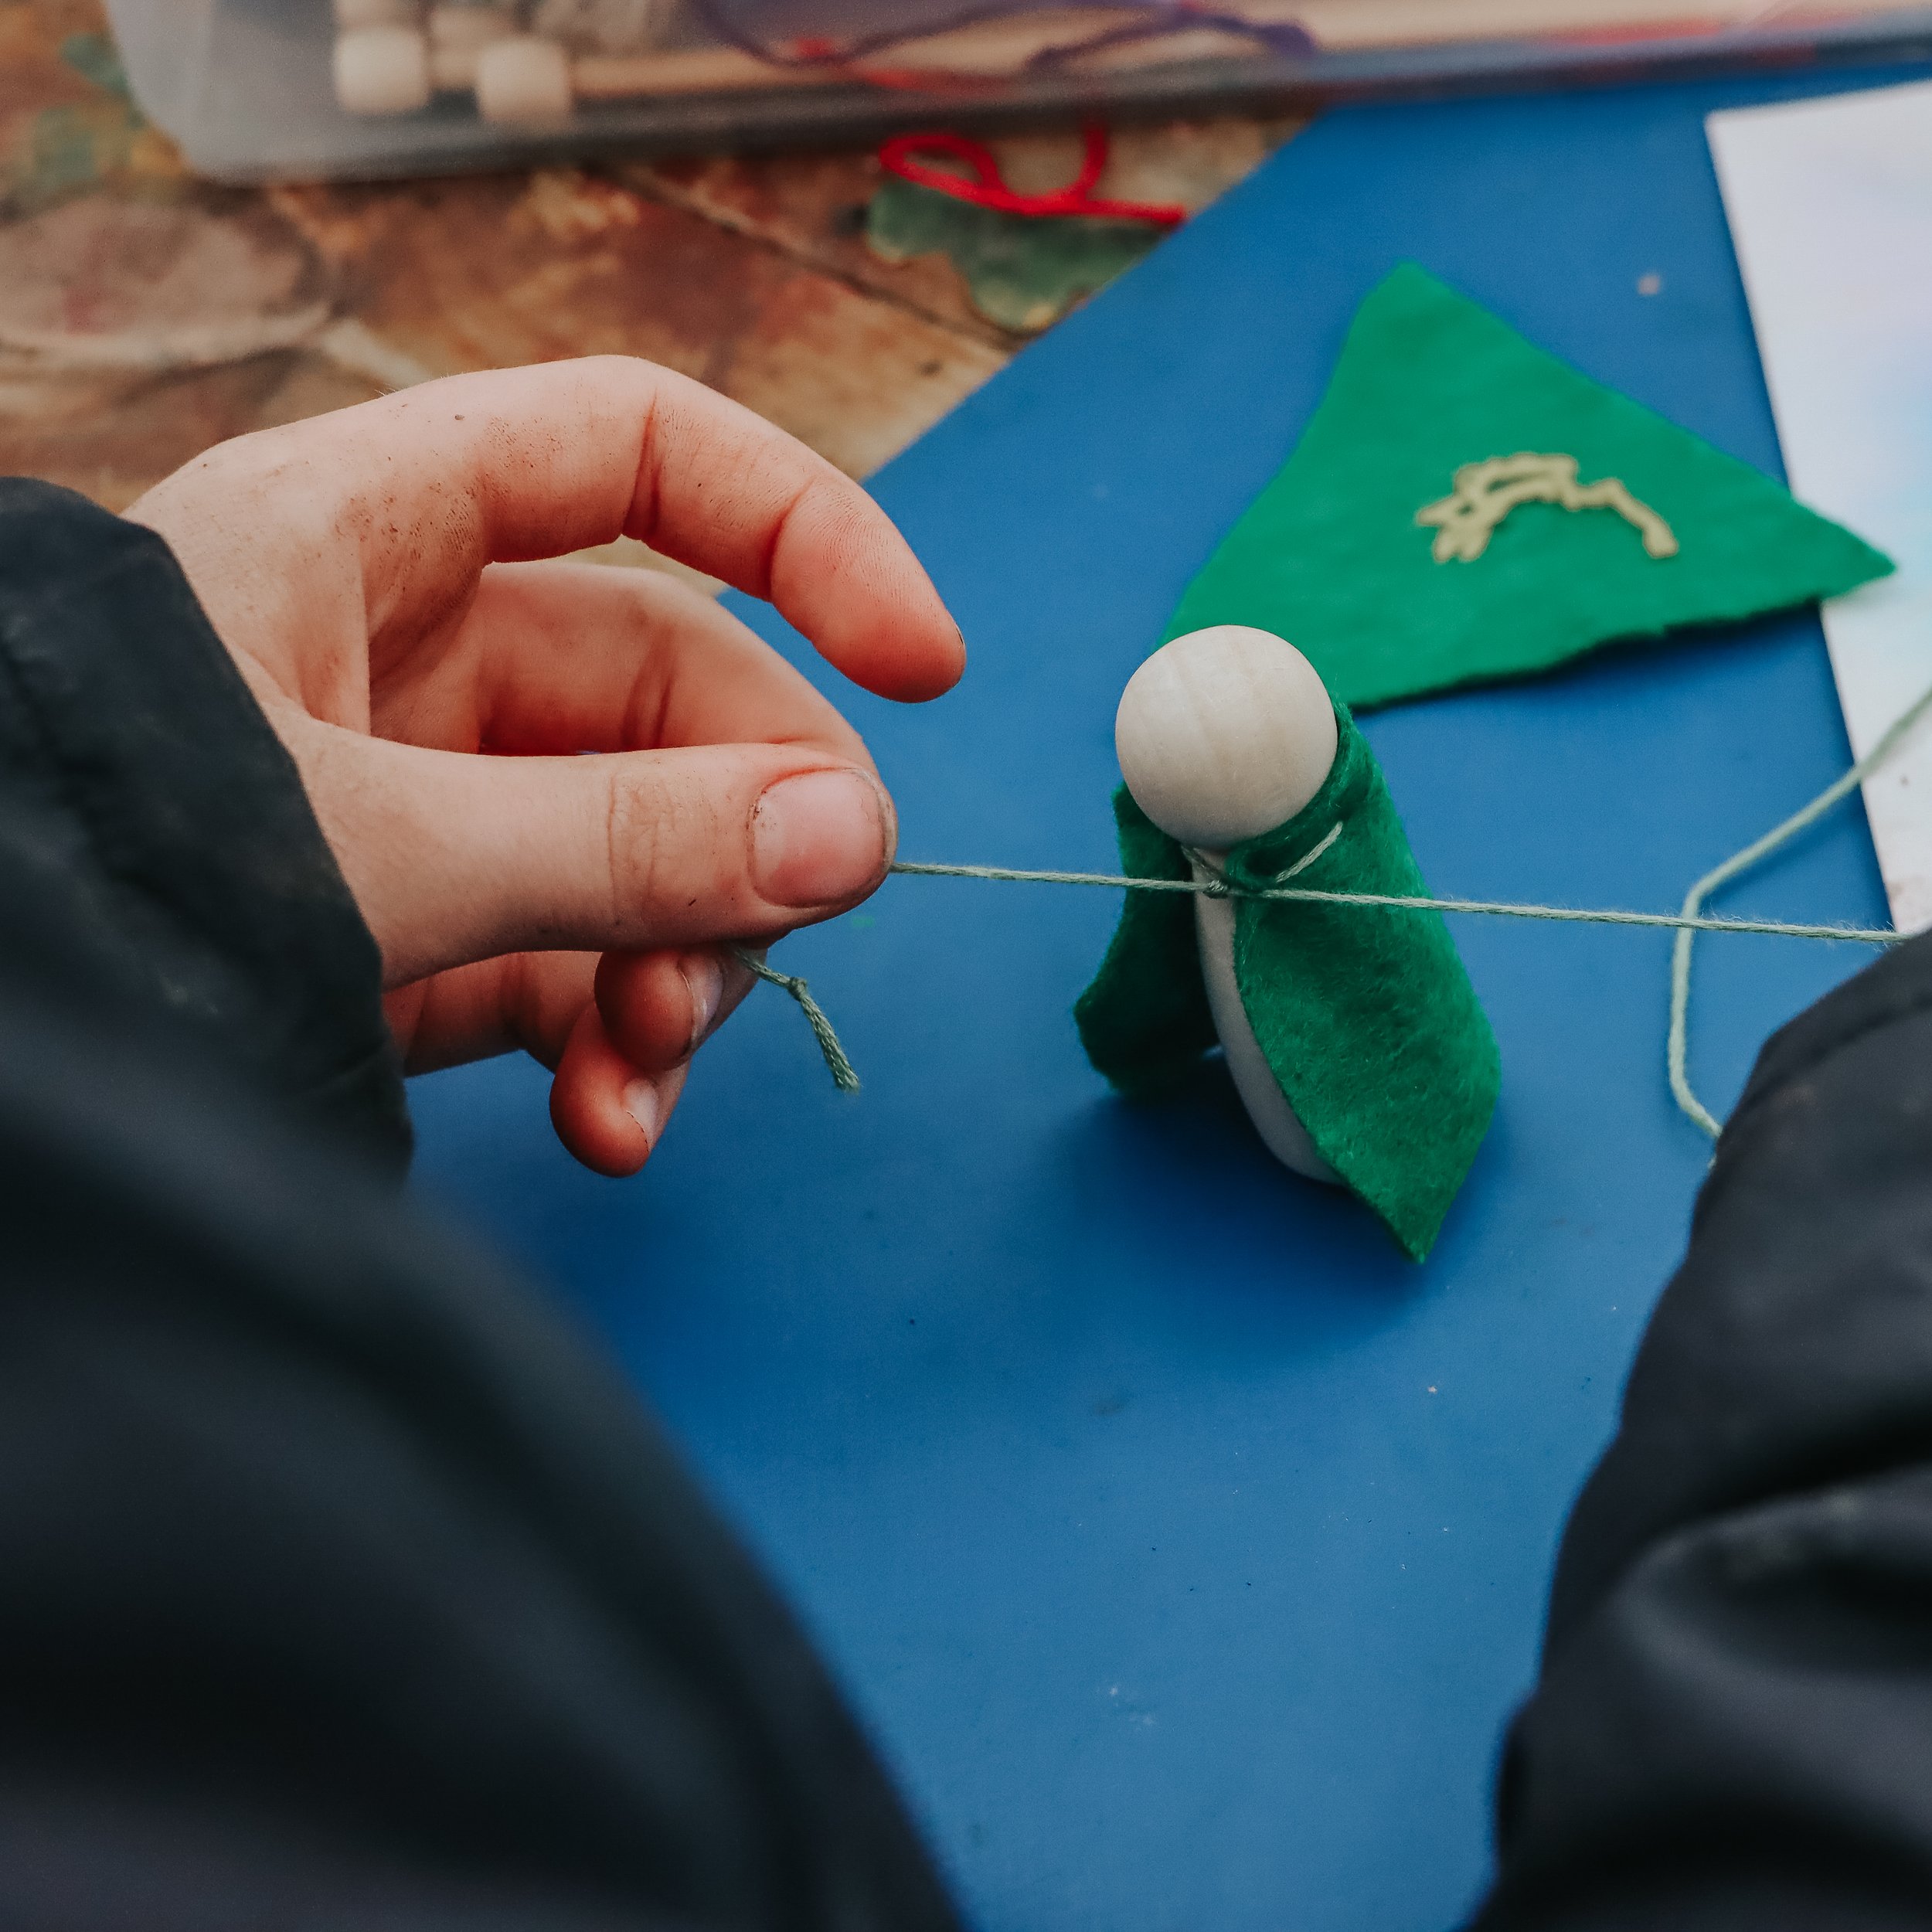
Using a running stitch, simply work your way from one edge to the other leaving a little tail and leader thread. Snip the thread with a 3-4cm on each end.
Wrap the cloak around the peg doll and gently put the threads to gather up the cloak around the doll. Then tie a knot to secure. You can add little beads to the ends of the threads when you’ve cut them to the length you’d like (be sure to leave enough thread to tie the beads on… we learnt the hard way on this one far too many times!)
Pop your hat on your peg doll and you’re finished.
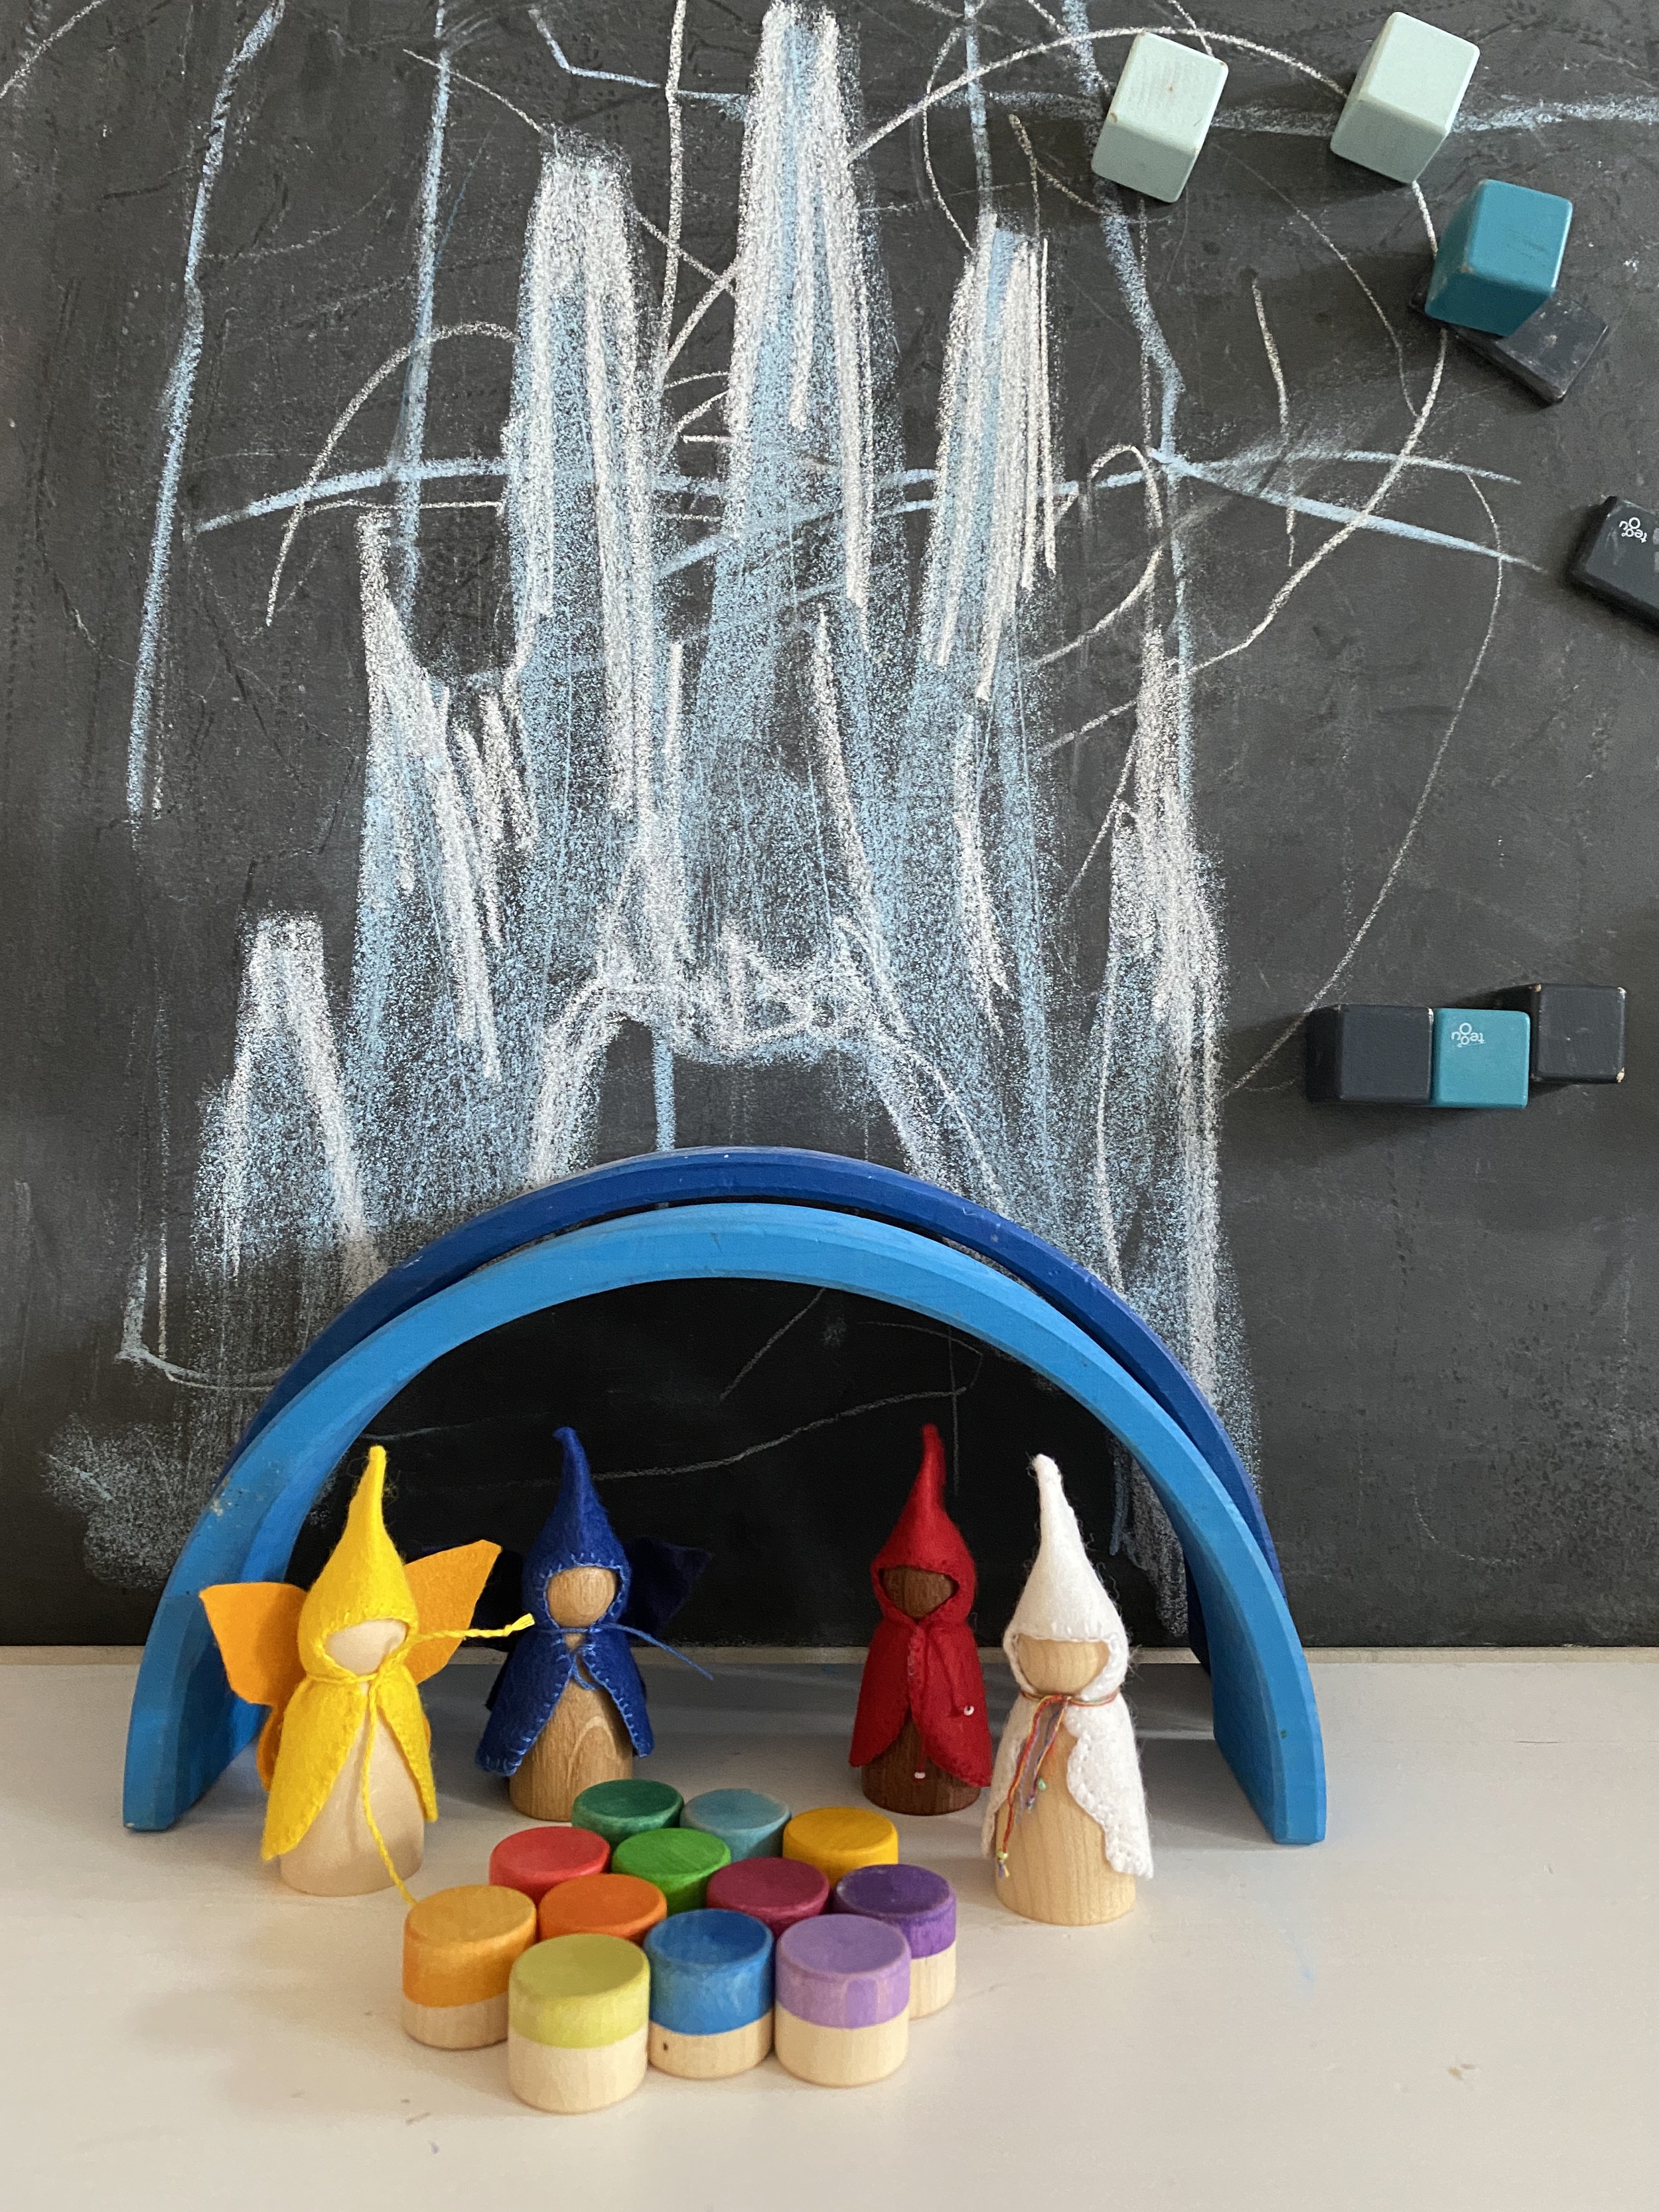
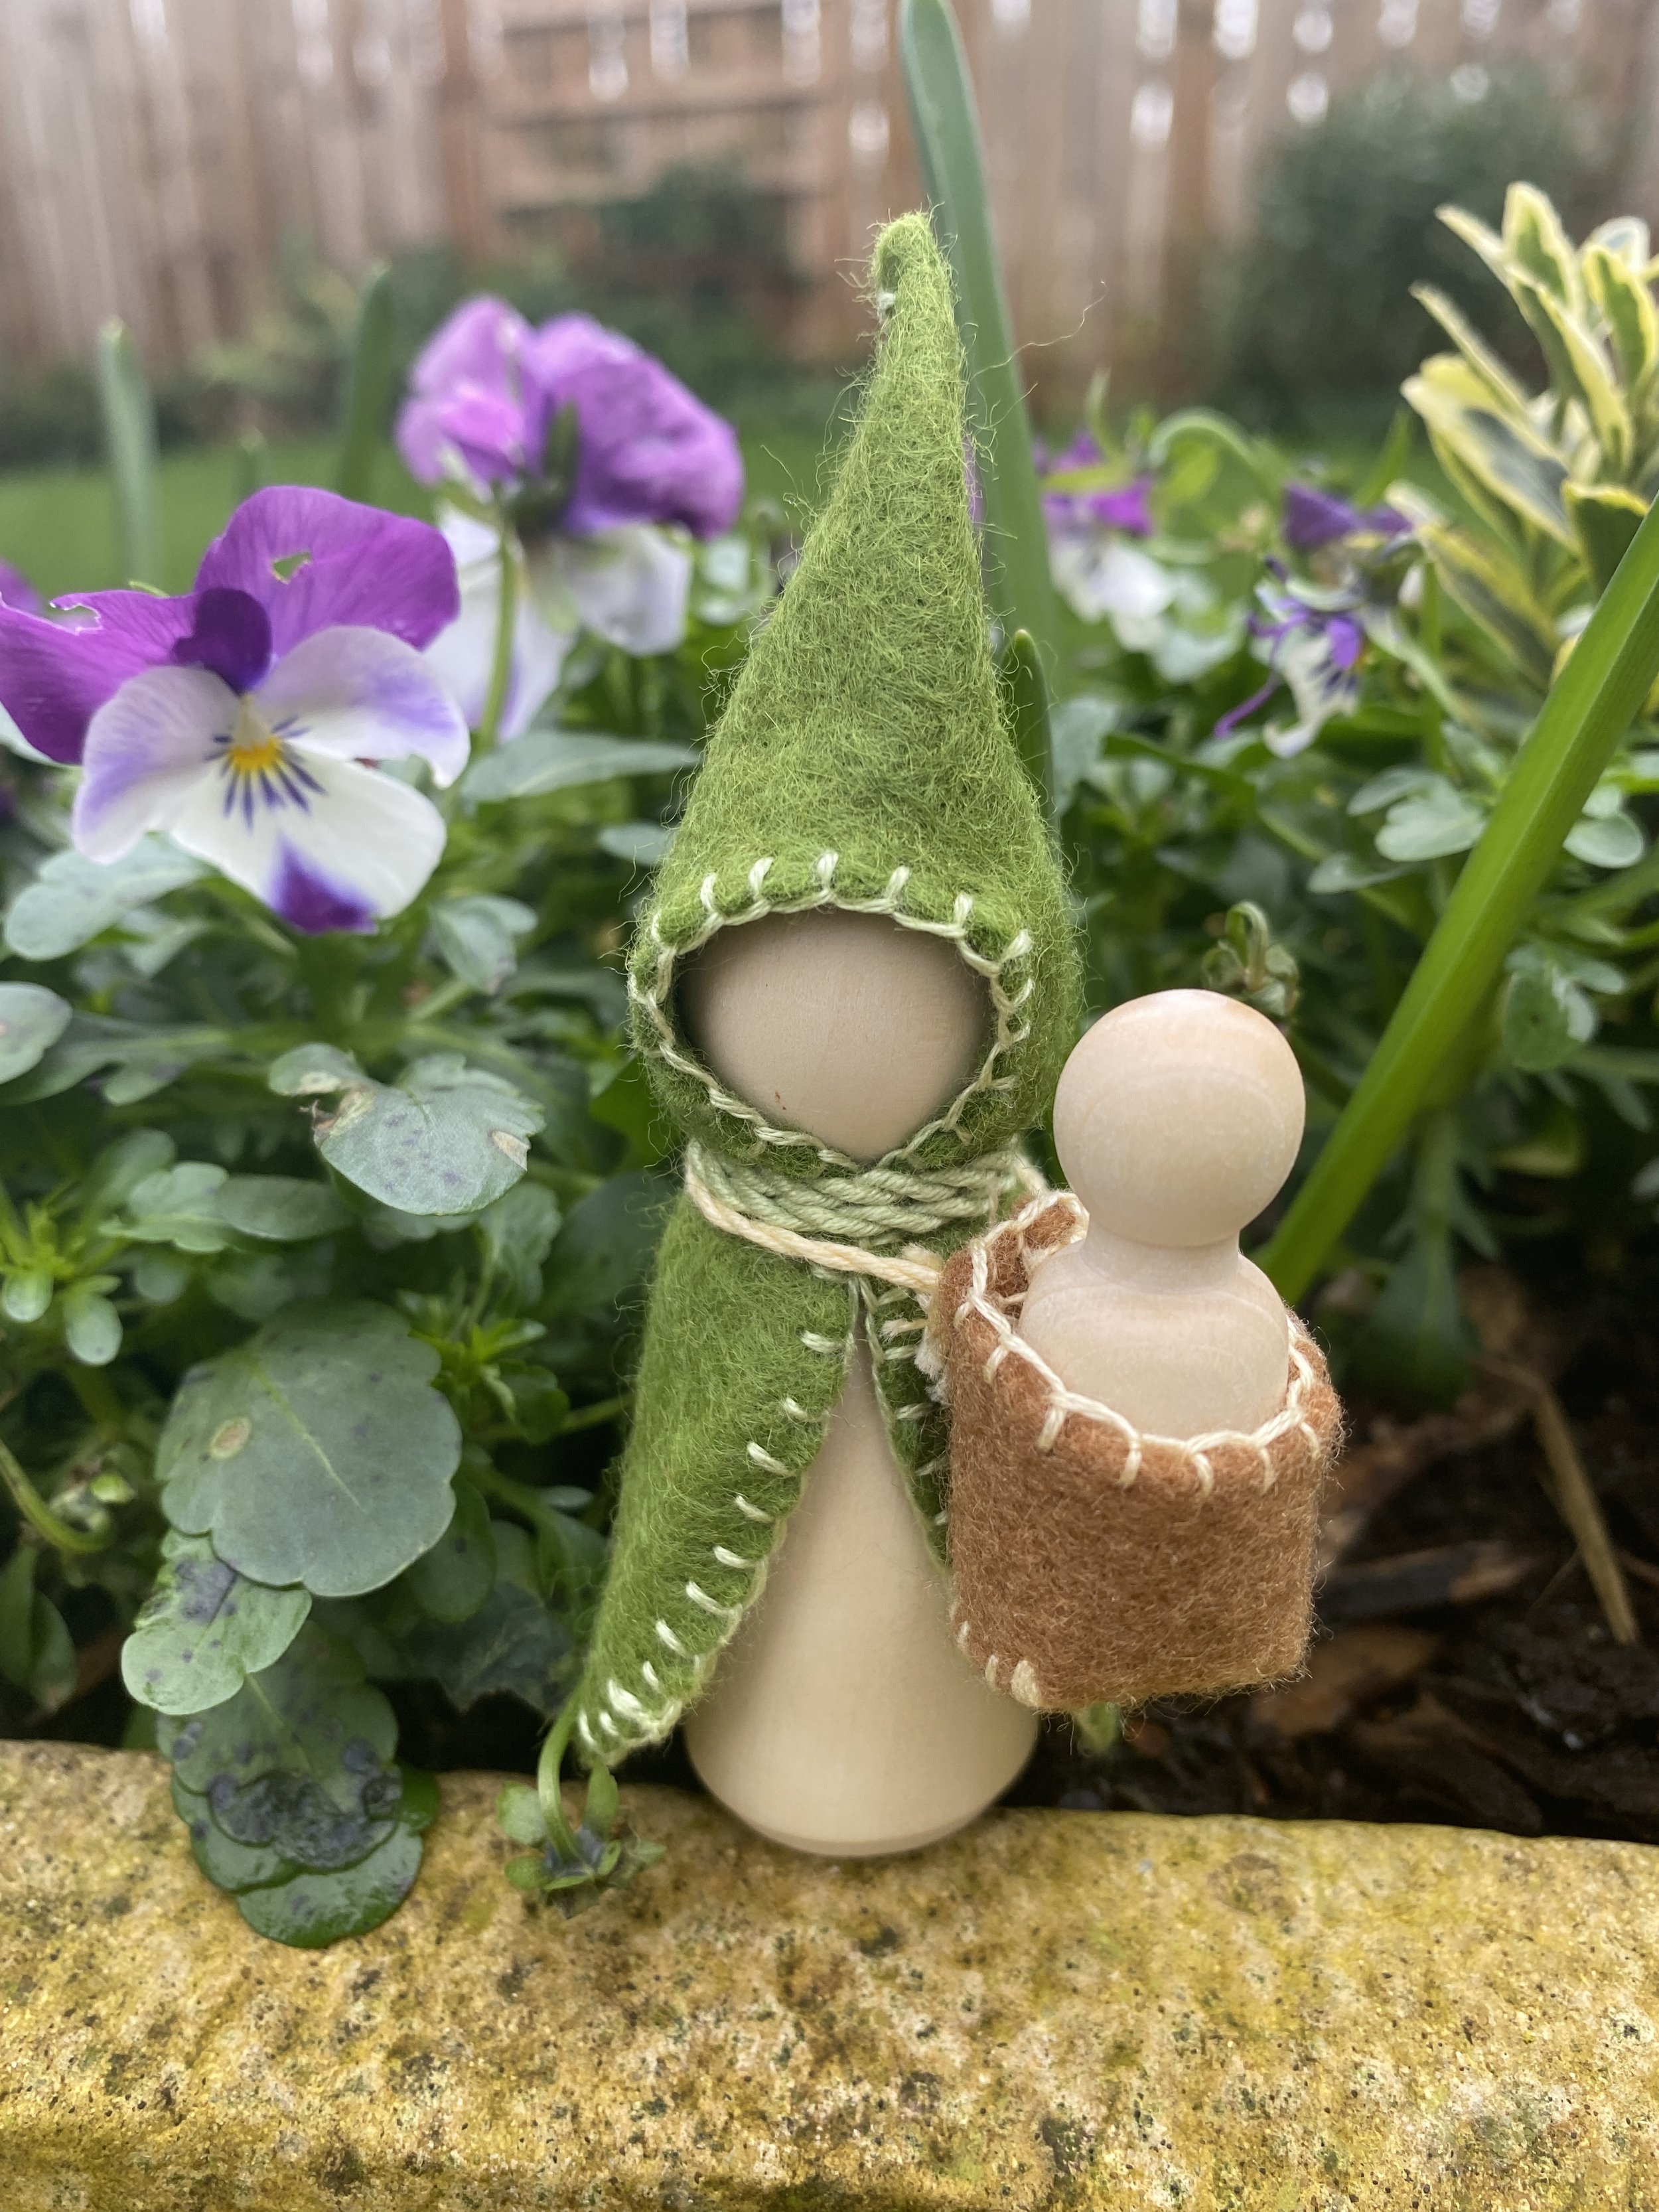
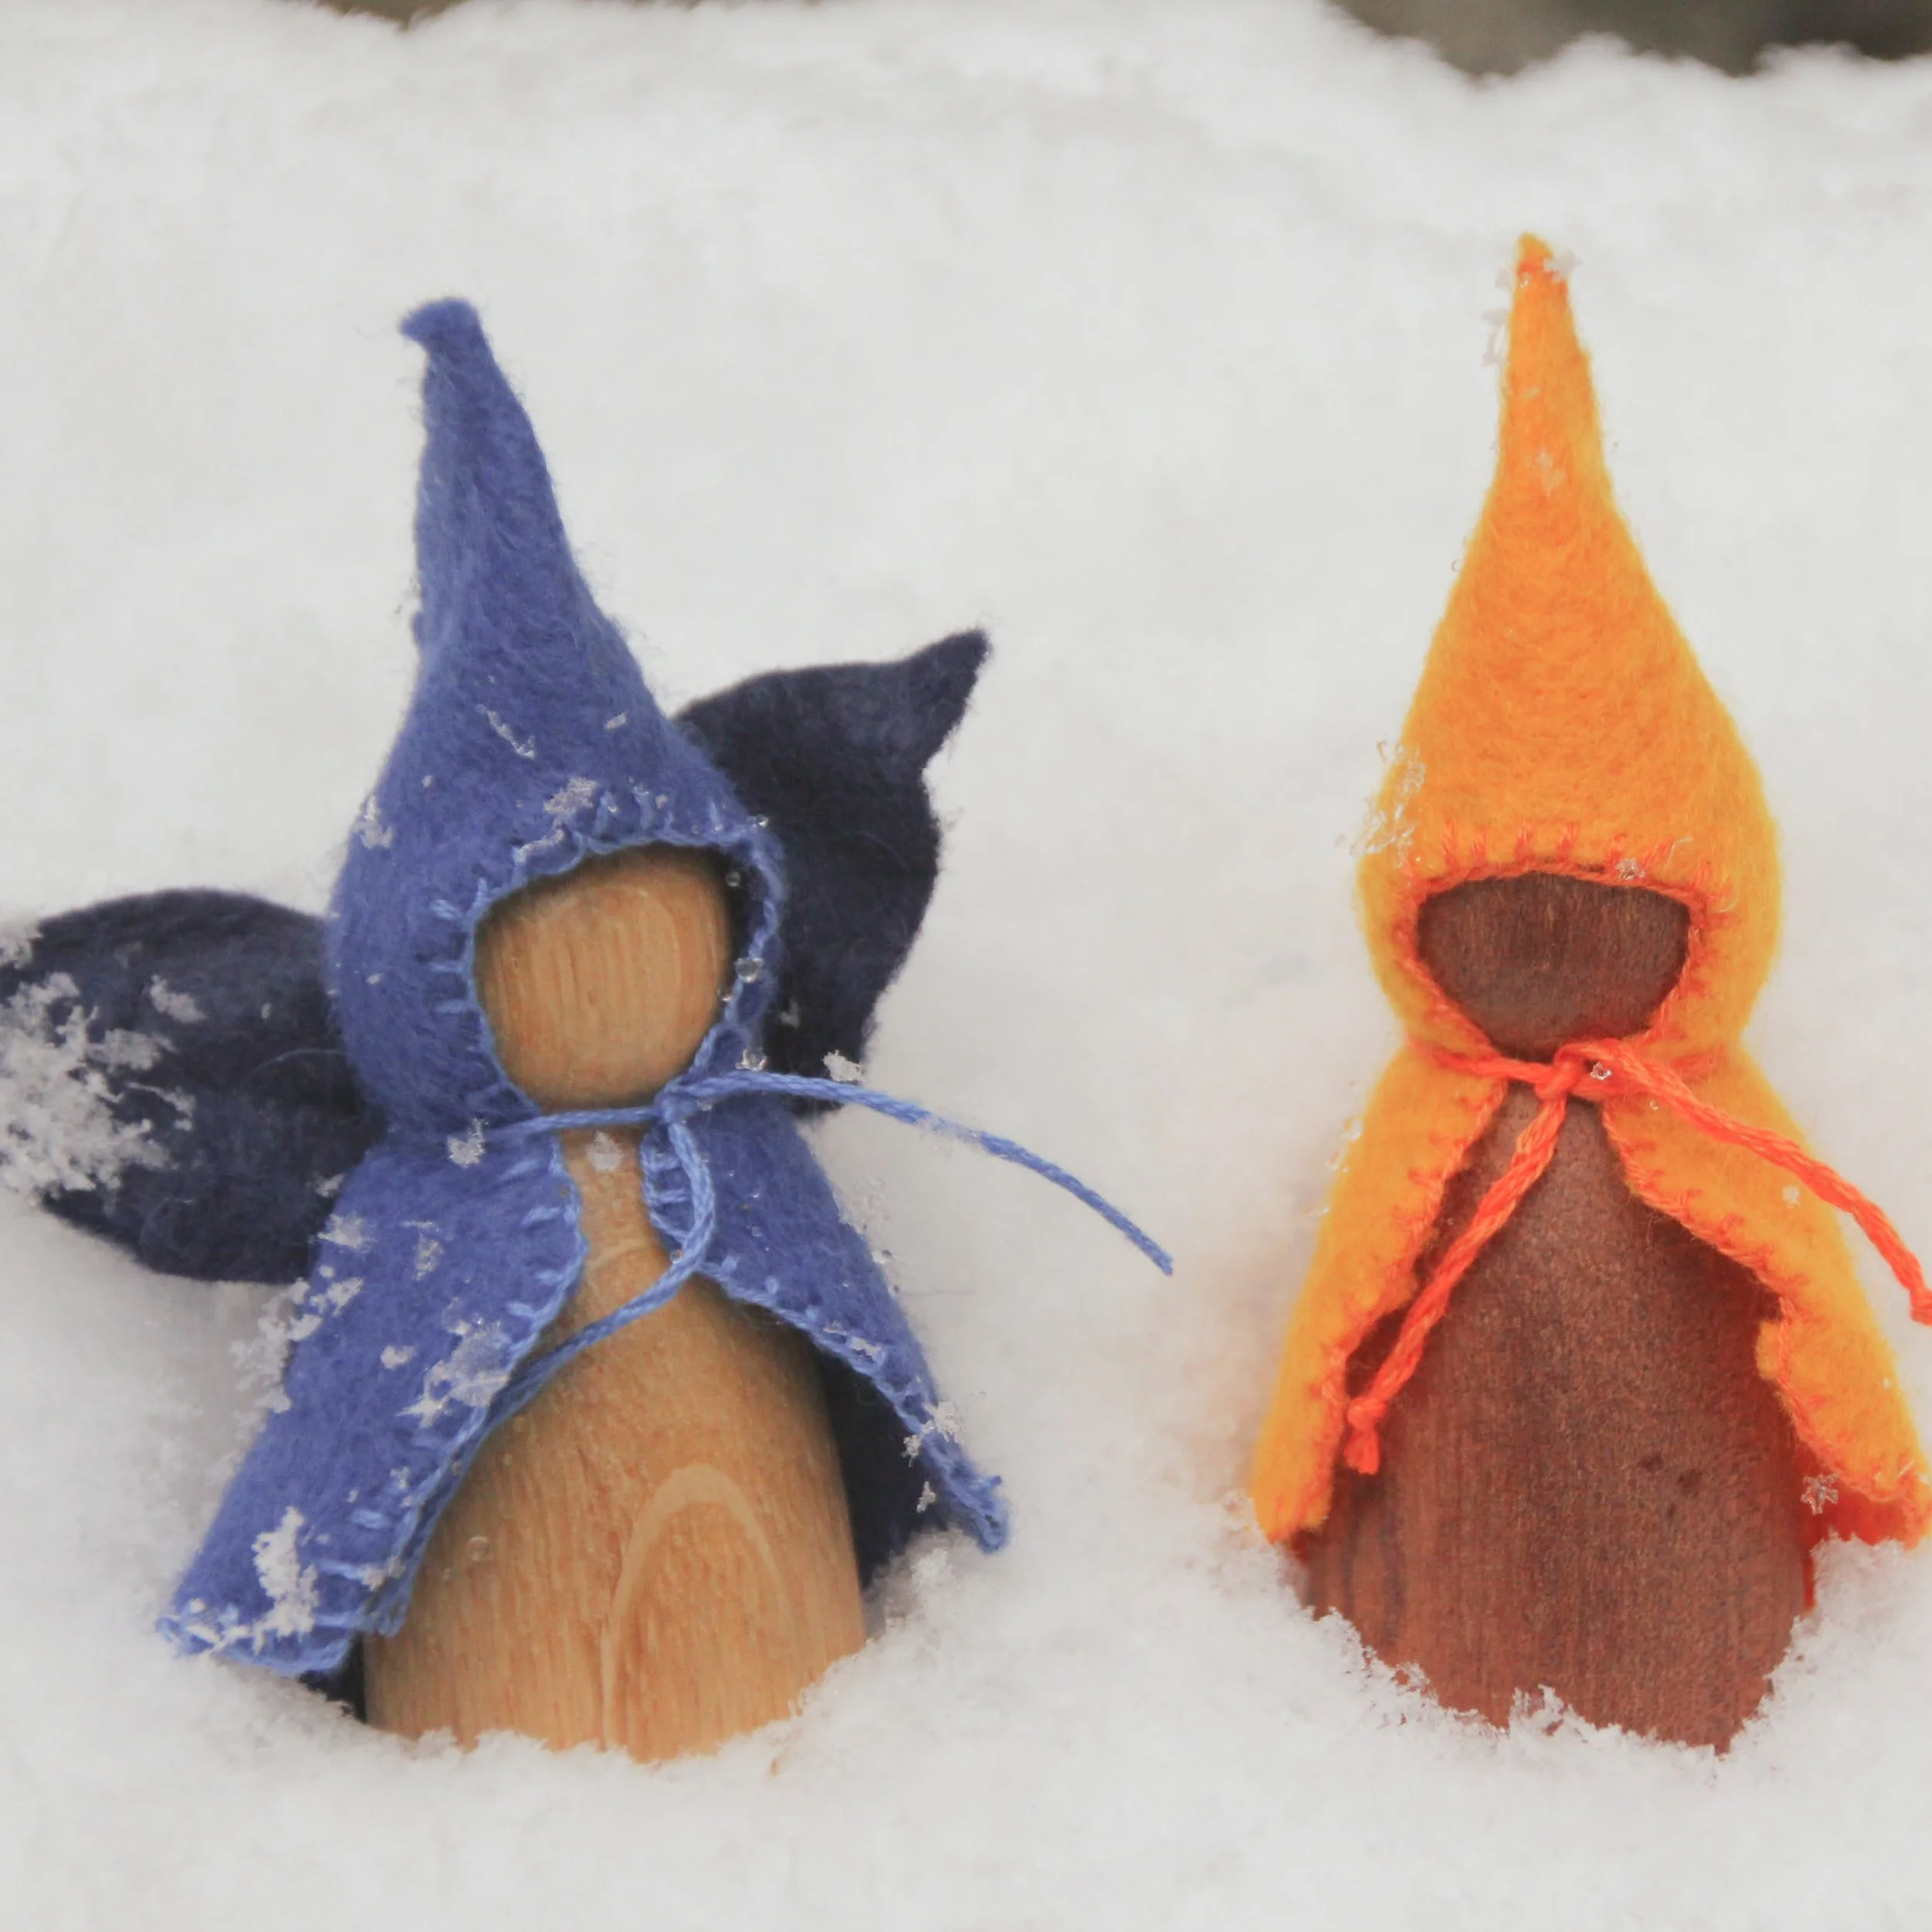
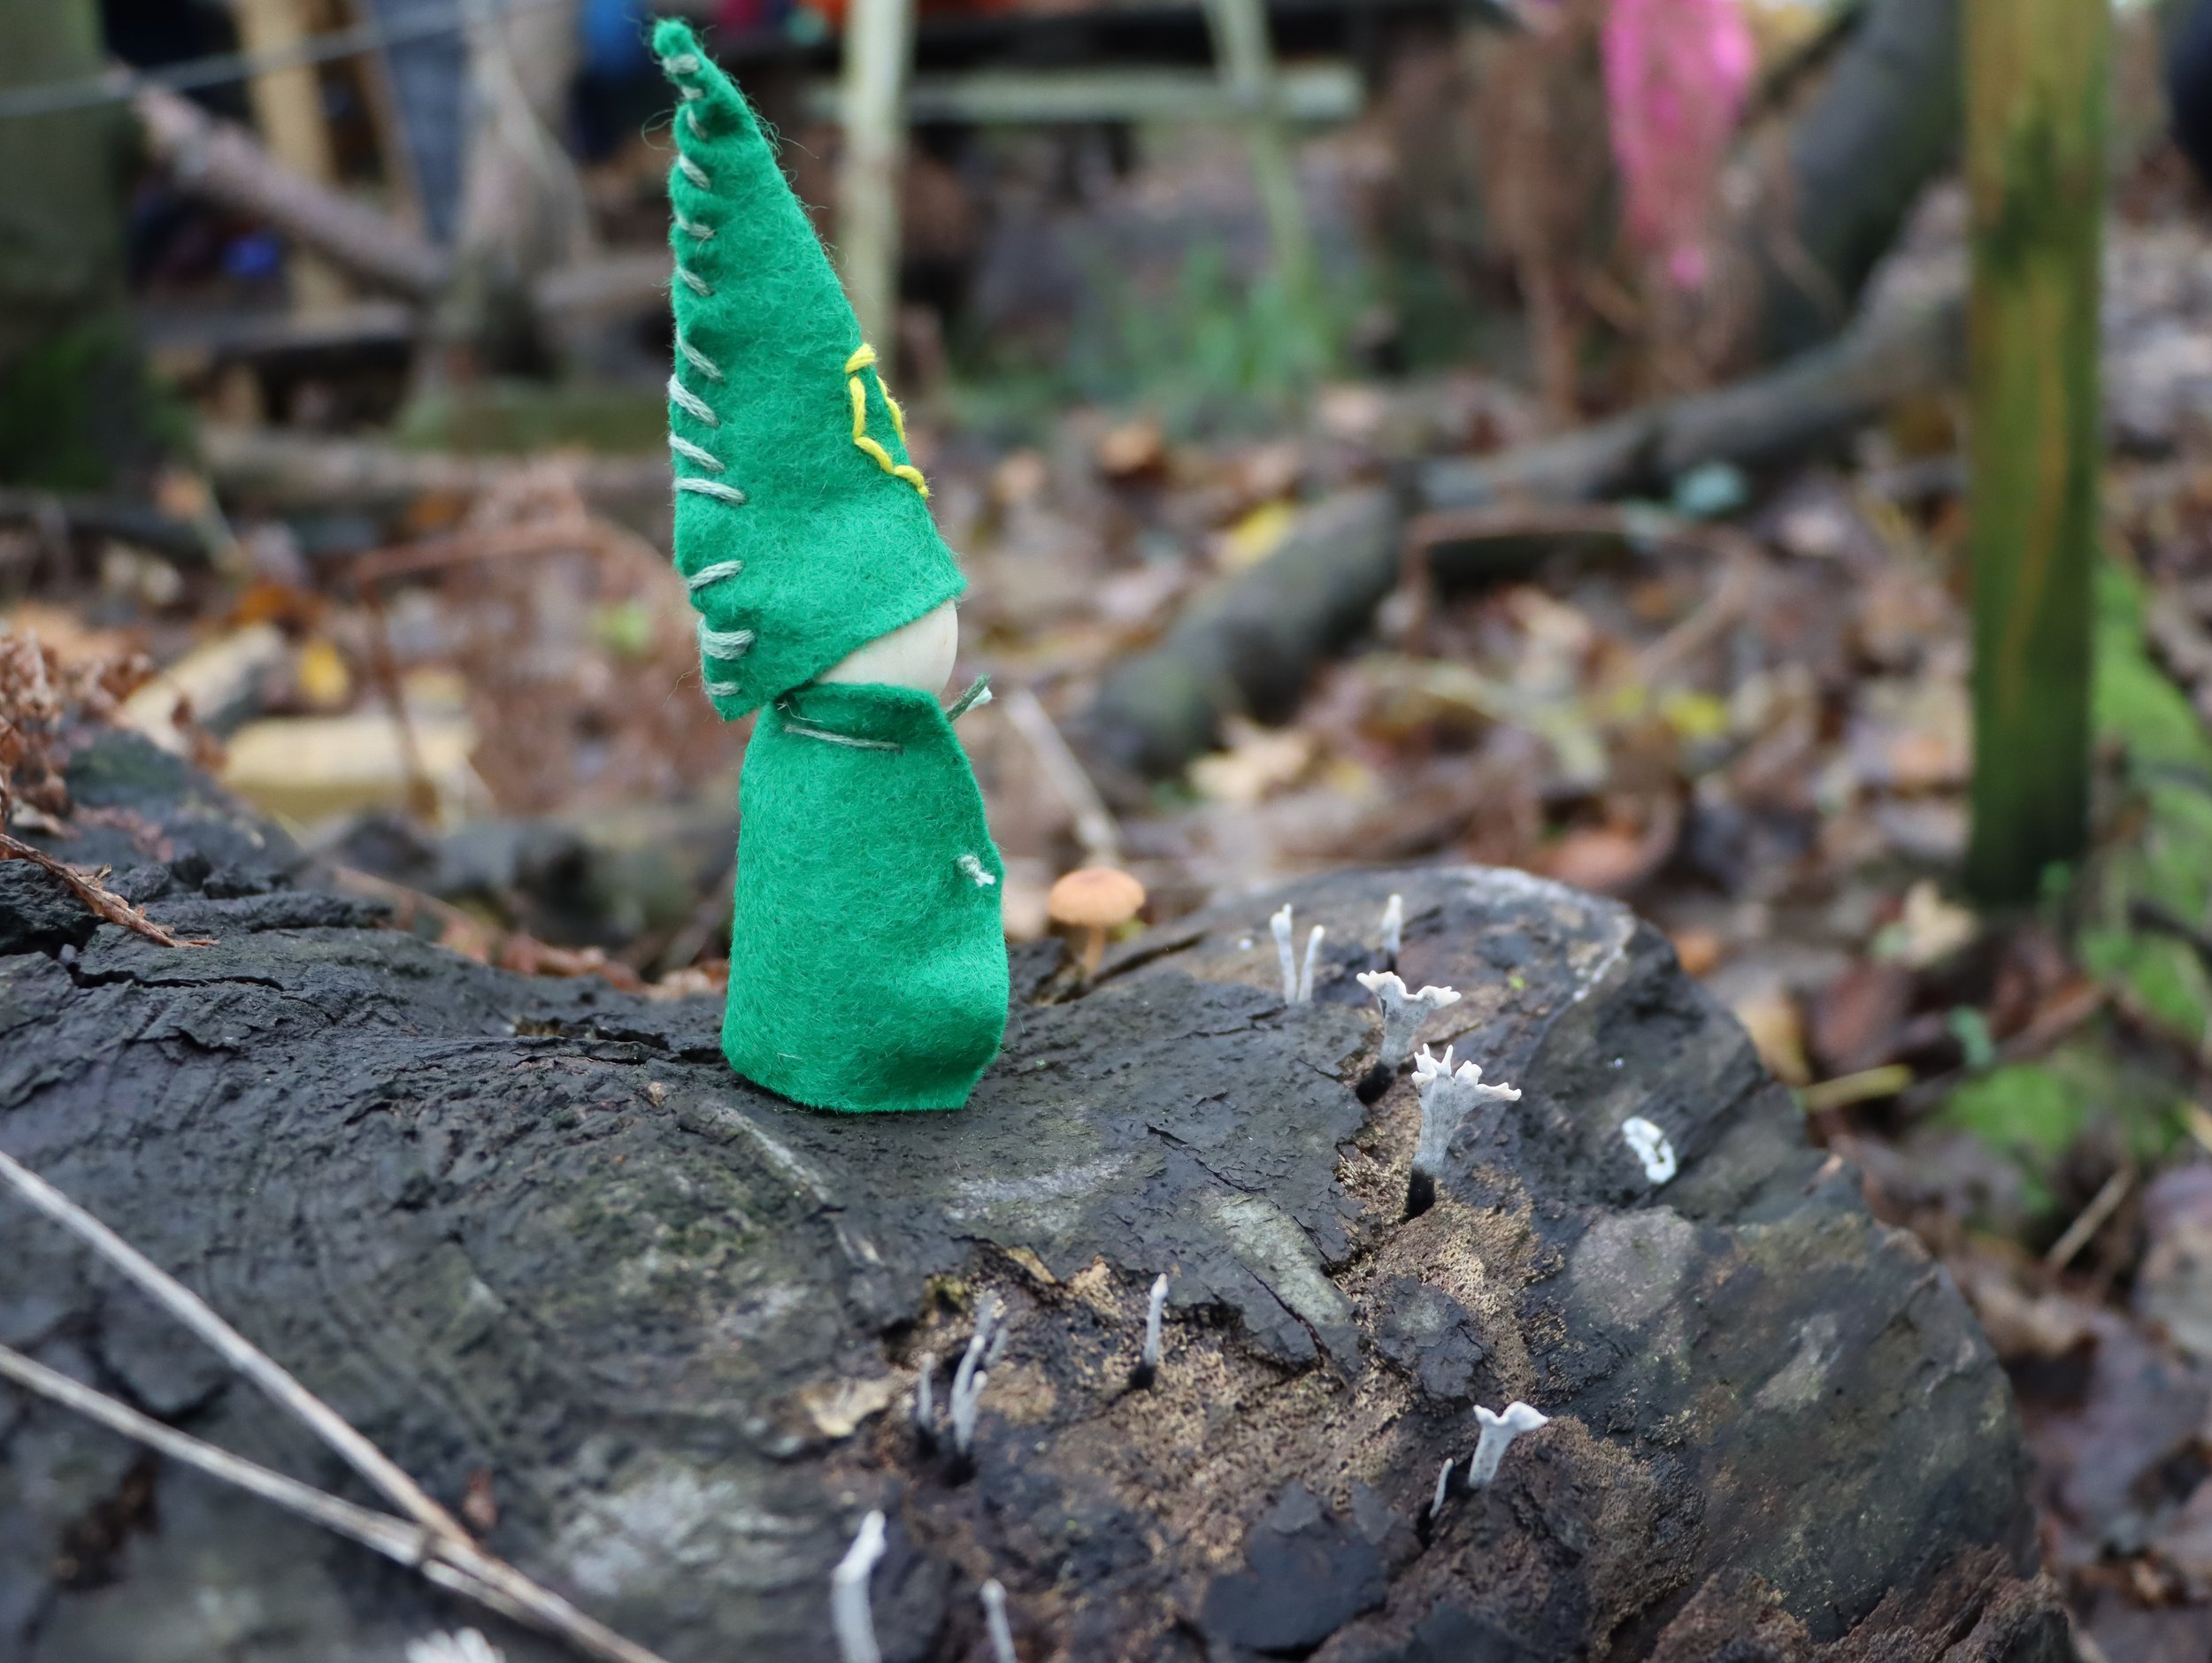
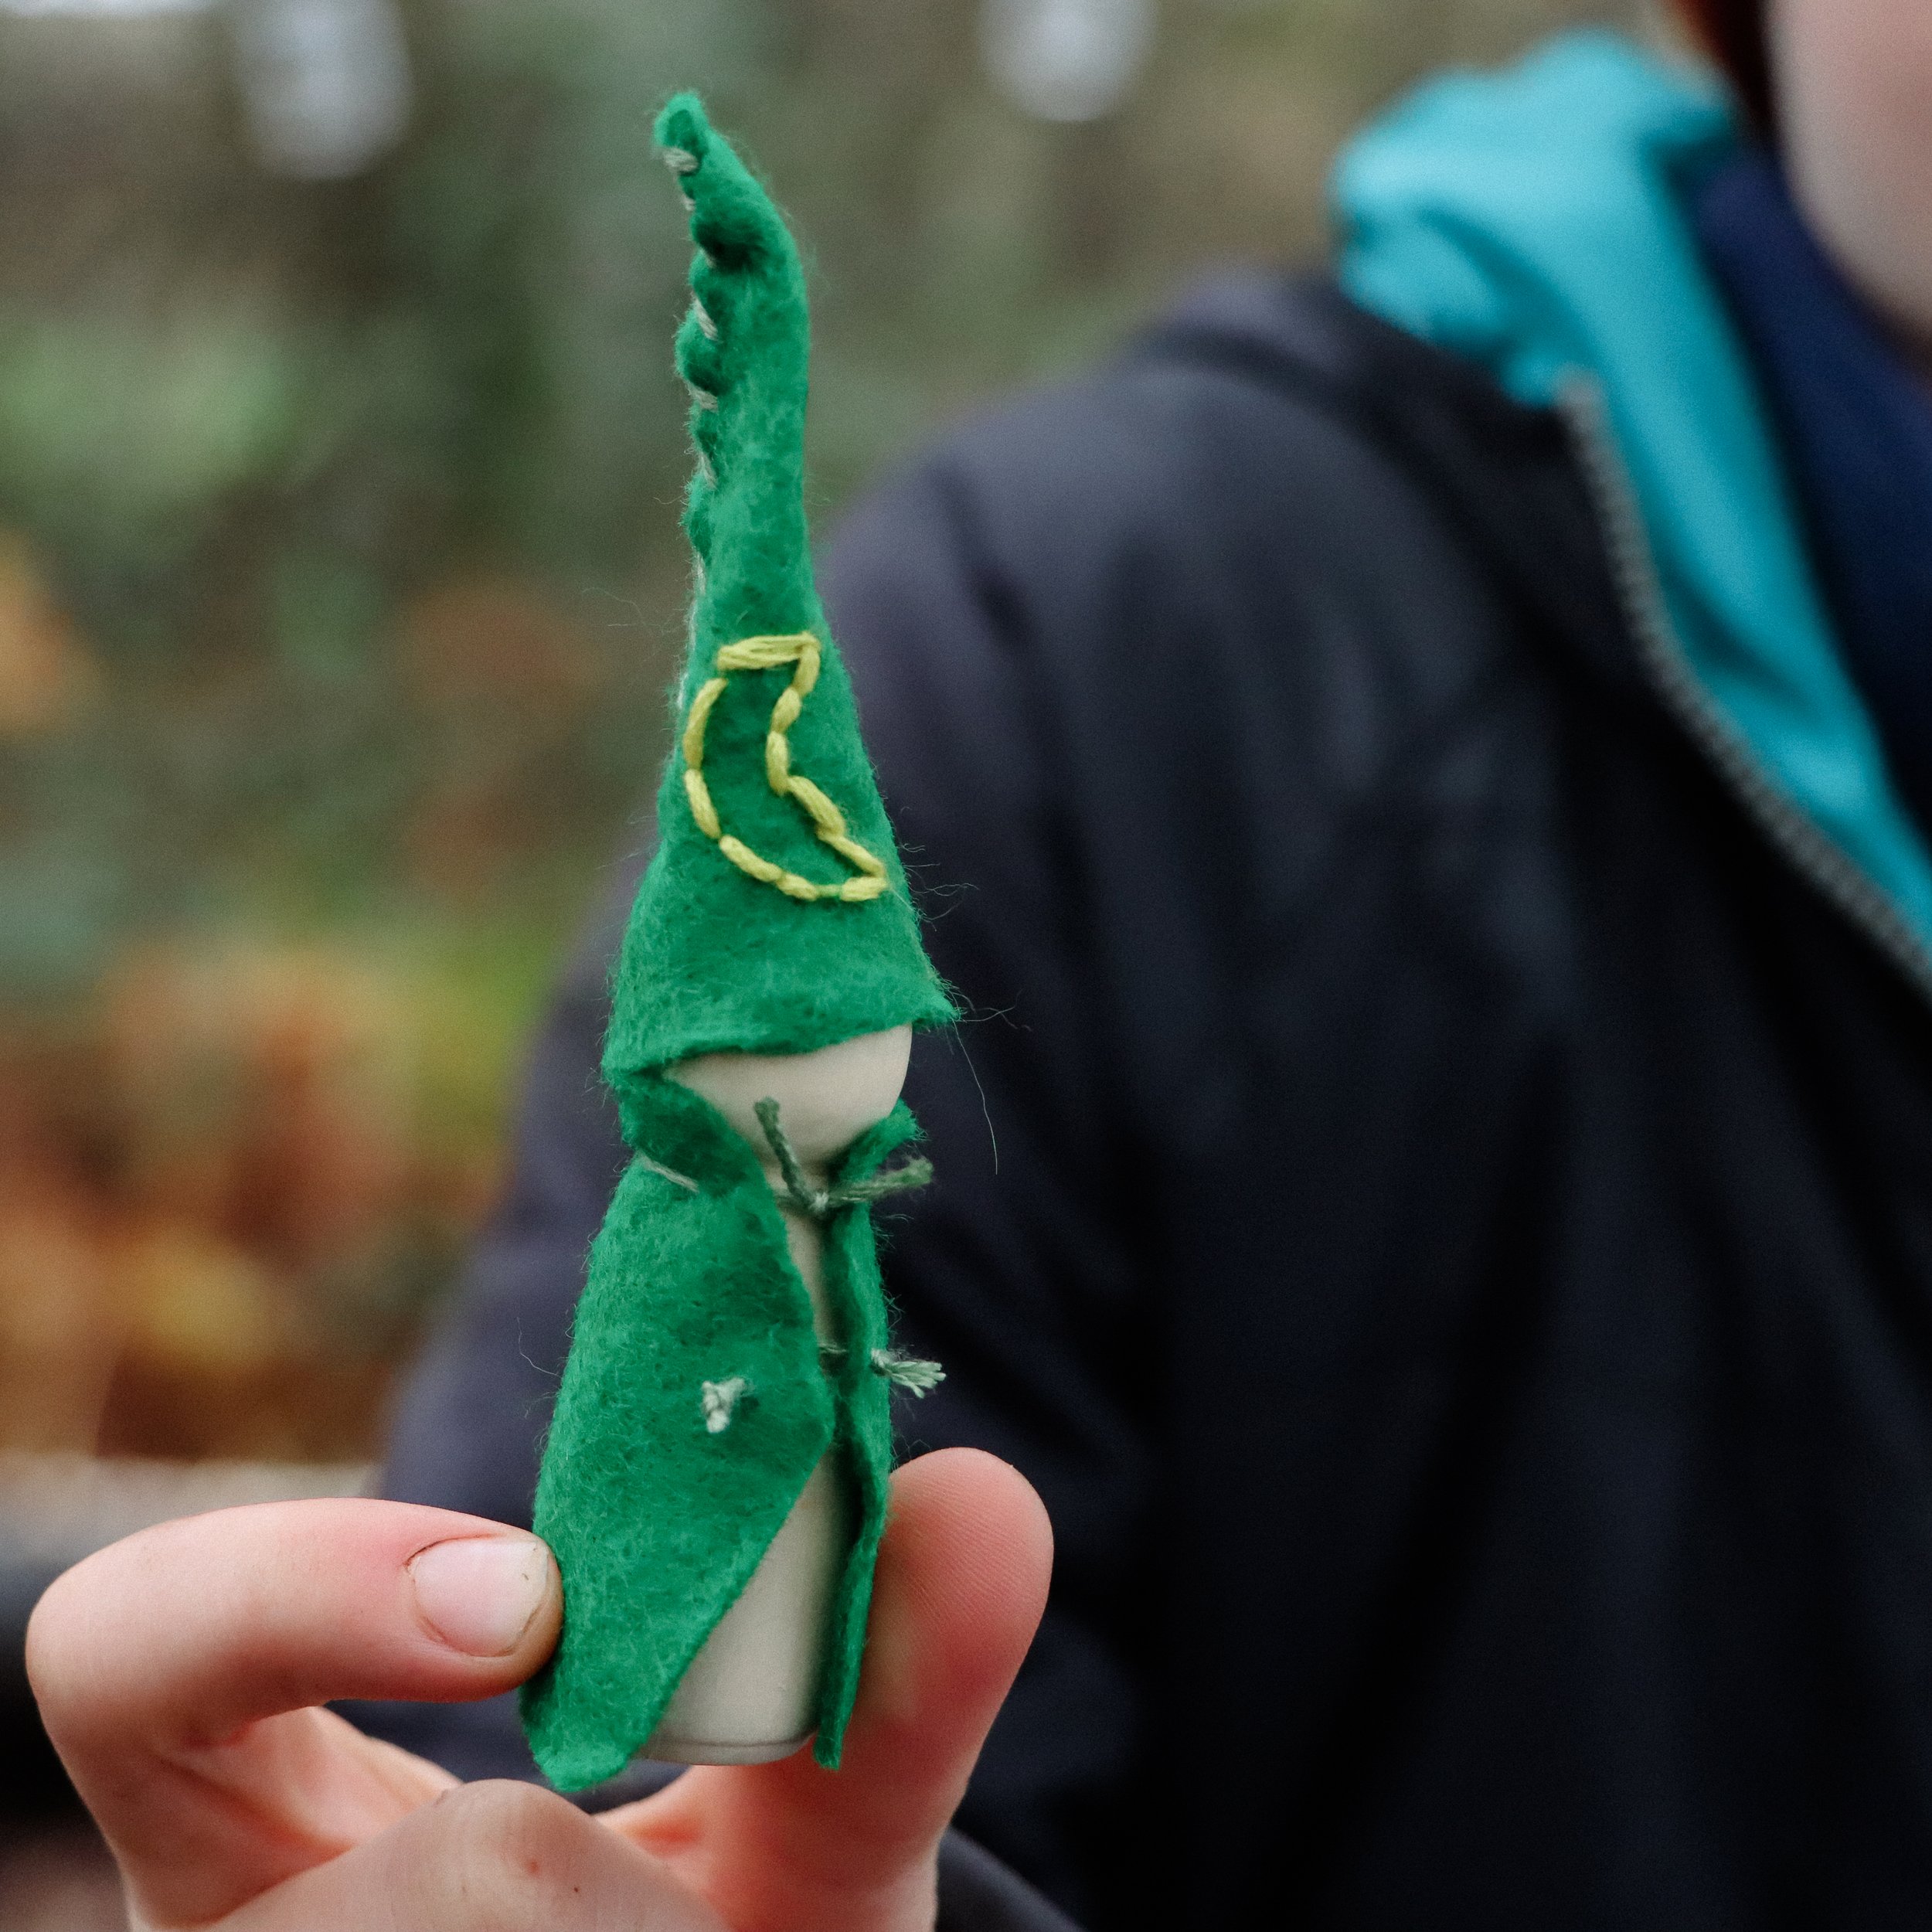
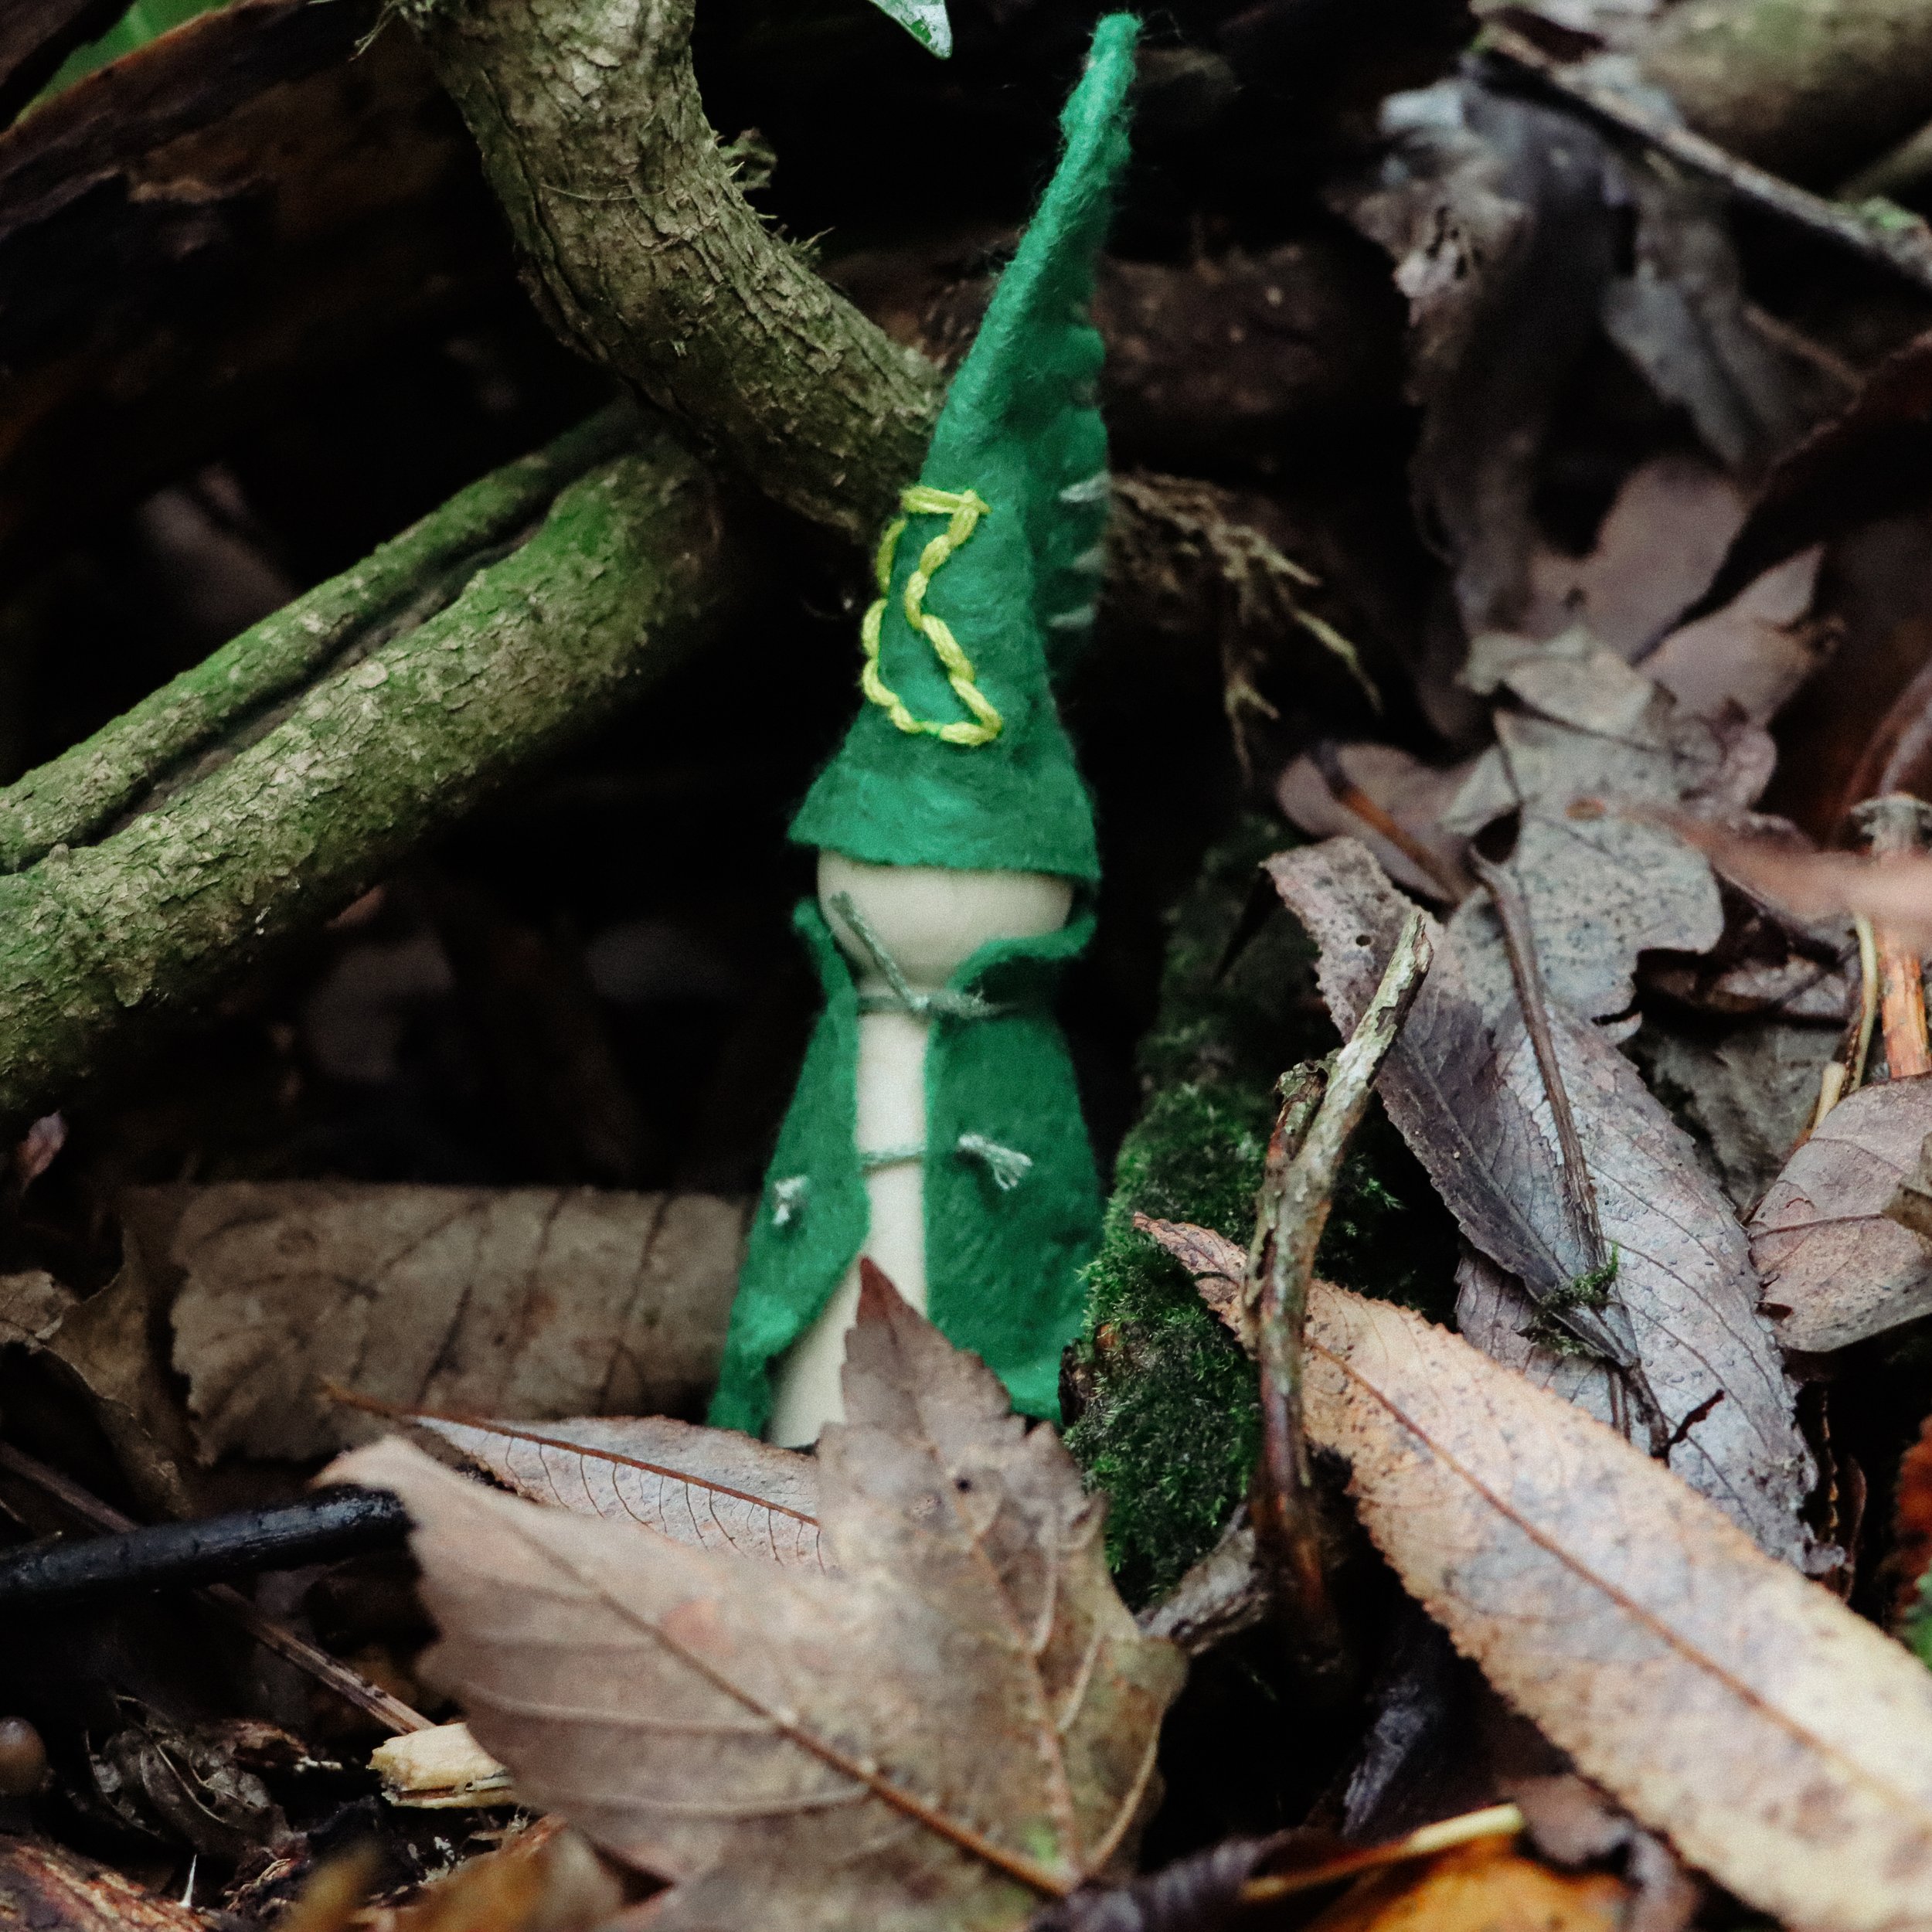
These are very quick instructions, the beauty of making these little gnomes is that there are so many variations, styles and designs that you could spend the whole day making a donsy of gnomes and they’ll all be so different. I’ve added some photos of gnomes we’ve made in the past so you’re able to see how many beautiful different characters we have around our house.